


The KiWAV 10-lb Belt Tension Gauge is designed to help measure motorcycle drive-belt deflection when the motorcycle manufacturer specifies a 10-lb measuring force.
Quick answer: Set the gauge to the 10-lb mark, position it at 90 degrees to the belt, record the belt position before applying force as reading A, apply 10 lb of force, record reading B, then calculate the belt deflection as B − A.
Always compare the result with the belt-tension specification for your exact motorcycle model and year.
- 詳細
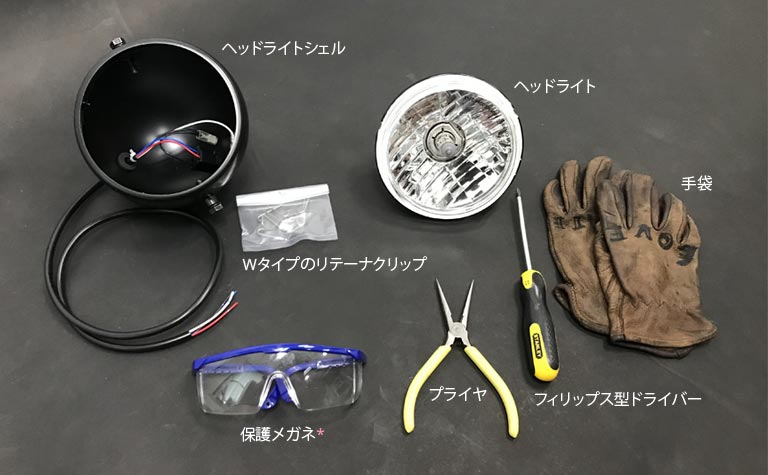
必要な工具:
ヘッドライト、ヘッドライトシェル、Wタイプのリテーナクリップ、プライヤ、フィリップス型ドライバー、保護メガネ*、手袋
*警告:取り付けの時、
高張力のクリップは高速で、強く飛び出す可能性がありますので、
作業中はぜひ保護メガネ、手袋を着用ください。
取付手順
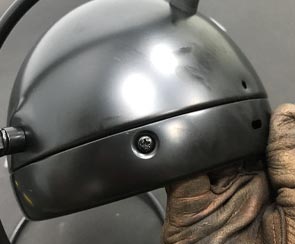
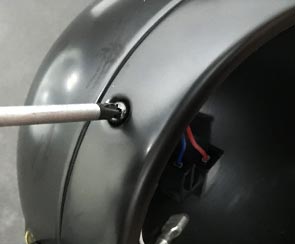
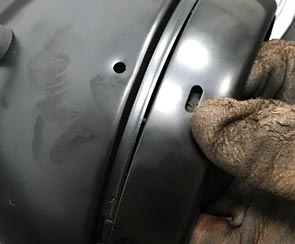
1. リングにつけた二つのボルトを緩めて、リングをシェルから外してください。
- 詳細
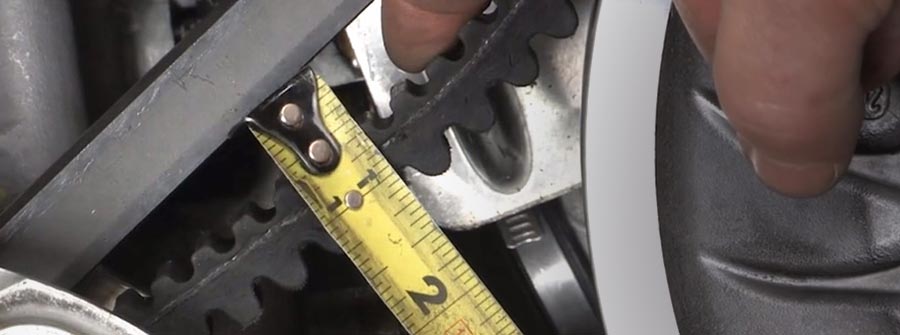
Correct motorcycle drive belt tension is important for smooth operation and for the life of the belt, pulleys, bearings, and related drivetrain components.
Why does belt tension matter?
- Too little tension can result in excessive belt movement, noise, slippage, heat, and premature belt or pulley wear.
- Too much tension can place excessive stress on the belt, bearings, shafts, pulleys, and related drivetrain components.
Quick answer: Measure belt deflection using the force, motorcycle position, measuring point, and loading conditions specified for your motorcycle. Compare the measured deflection with the specification for your exact model and year before making an adjustment.
Inspection intervals also vary by motorcycle. Some maintenance schedules call for an initial belt check after a break-in period and subsequent periodic inspections. Always follow the maintenance schedule in the service manual for your exact motorcycle.
- 詳細
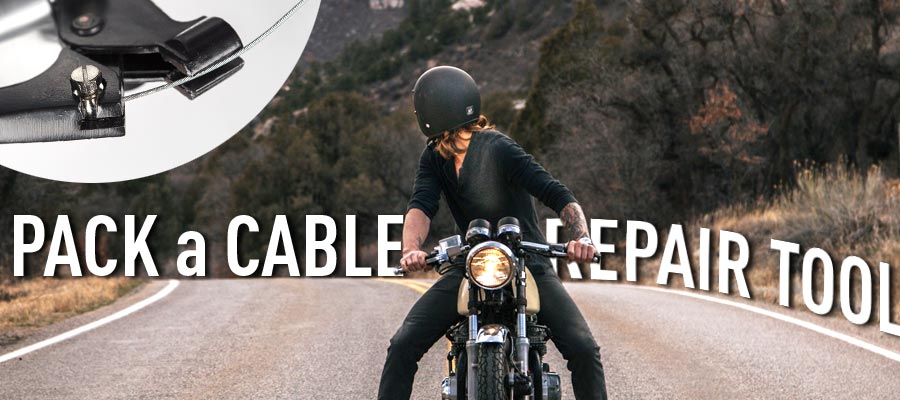
ロングツーリングならケーブル修理キットは欠かせません
ツーリングに行く前に、可能なトラブルにの対応を考えるは必要です。 些細なトラブルでも、旅が台無しになることもあります。 レンチ、小型ナイフ、ペンチ、ドライバー、パンク修理キットなど、 様々な道具を用意するのはいいんですが、途中で予期せぬクラッチケーブルの損傷でブレーキが故障してしまったらどうなってしまうのでしょうか? きっと「何でスペアケーブルを準備しなかったんだ?」と思うでしょう。
そこで、もしものために、非常用ケーブル修理キットを用意しておきましょう。
クラッチケーブルがツーリング中に折れた場合の対応
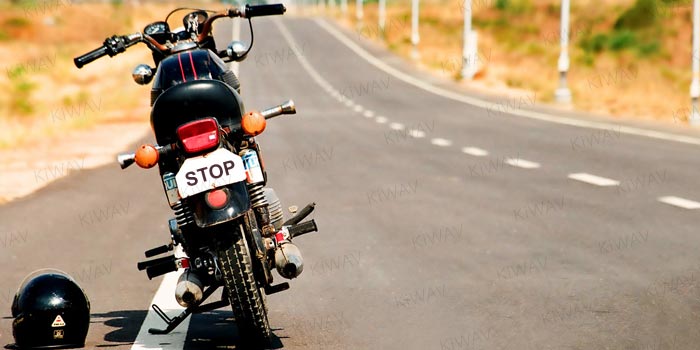
1. まず、破損したケーブルを交換ために、バイクを道路から離れた安全で平らな場所に駐車します。
- 詳細
ボルボは2011年以降のXC60モデルの前フォグランプを設計から取り除きました。
この決定はいくつのいい理由がありますがが、
多くの2011-2017 XC60 R Design持ち主は前フォグランプを設計に戻ってほしがっています。
残念ながら、それは断然しやすいではありません。
ボルボはステアリング部品EHPAS(電動油圧パワーステアリング)に改造したので、右側に前フォグランプといる改装部品の追加は不可能となります。
(オーストラリアの運転者側、左ハンドルの乗客側)
元の設計は右側にフォグランプ追加不可
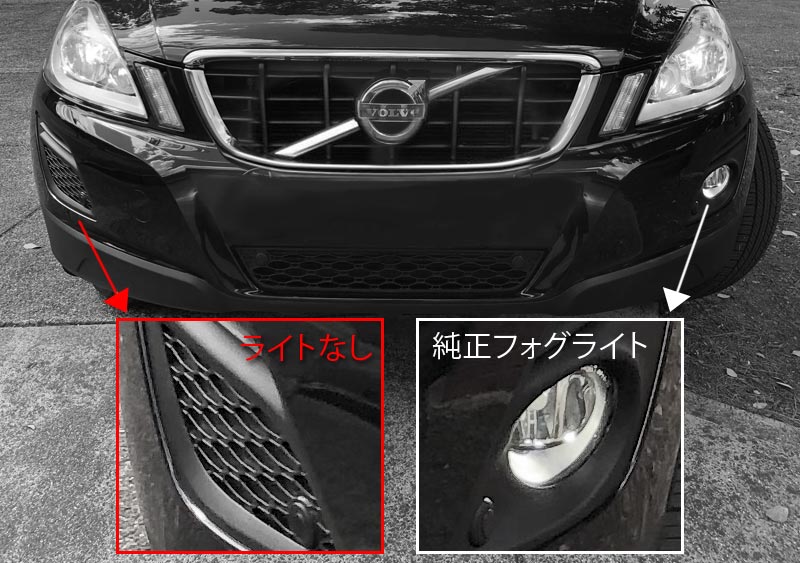
左側には純正のフォグランプセット追加の様子です。(車内から見る場合)
右側のプラスチック製フォグライトカバーの後ろにはステアリング用ポンプがあるので、フォグランプの取付は無理です。
- 詳細
フライス盤以来最高な発明!
新しいハンドルを入手ならこれも欠けない!
元のハンドルを交換すれば、新しいハンドルに穴あけが必要ですから。
コントロールを回さないように、元のハンドルにはいくつの穴が付いています。
で、コントロールアセンブリにもその穴に付けるタブが付いています。
でも、円柱形の物体に穴あけはかなり難しいです。ドリルビット又はハンドル自身が滑る可能ですから。
先に刻印を付いて、それでドリルが目標から遠く離れられなりませんが、ハンドル自身が滑る問題はまた残ります。
どうやってハンドルをしっかり固定するのは大難題です。
Vブロックや卓上万力を使うのもいいですが、KiWAVハンドル用ドリルガイドを試してはどうでしょう。
- 詳細
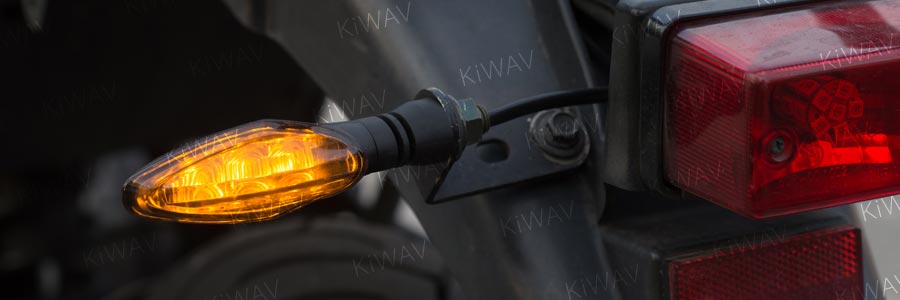
ちょっとだけ電装障害対応のレッスンしよう。
配線を直すのはそんなにかからなくて、
ただ、うまく接触の電線や、接地線が接地しない所を探すのはかなり面倒なことです。
ちょっとだけの根気をもって、対応方法を一緒に見ましょう。
- 詳細
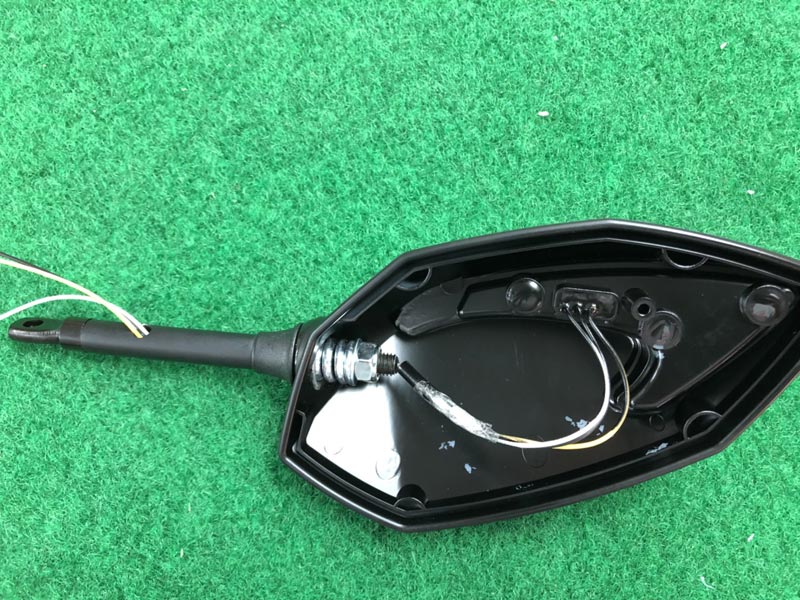
LED付きミラーを長持ちさせたいなら、これは知らないといけません。
必ずミラーをバイクに先に取付て、それから配線を行うこと
実際のミラー内部の電線はこうで見えます。
もつれてなく、電線の長さにも少し余裕があります。
- 詳細
1 / 3