

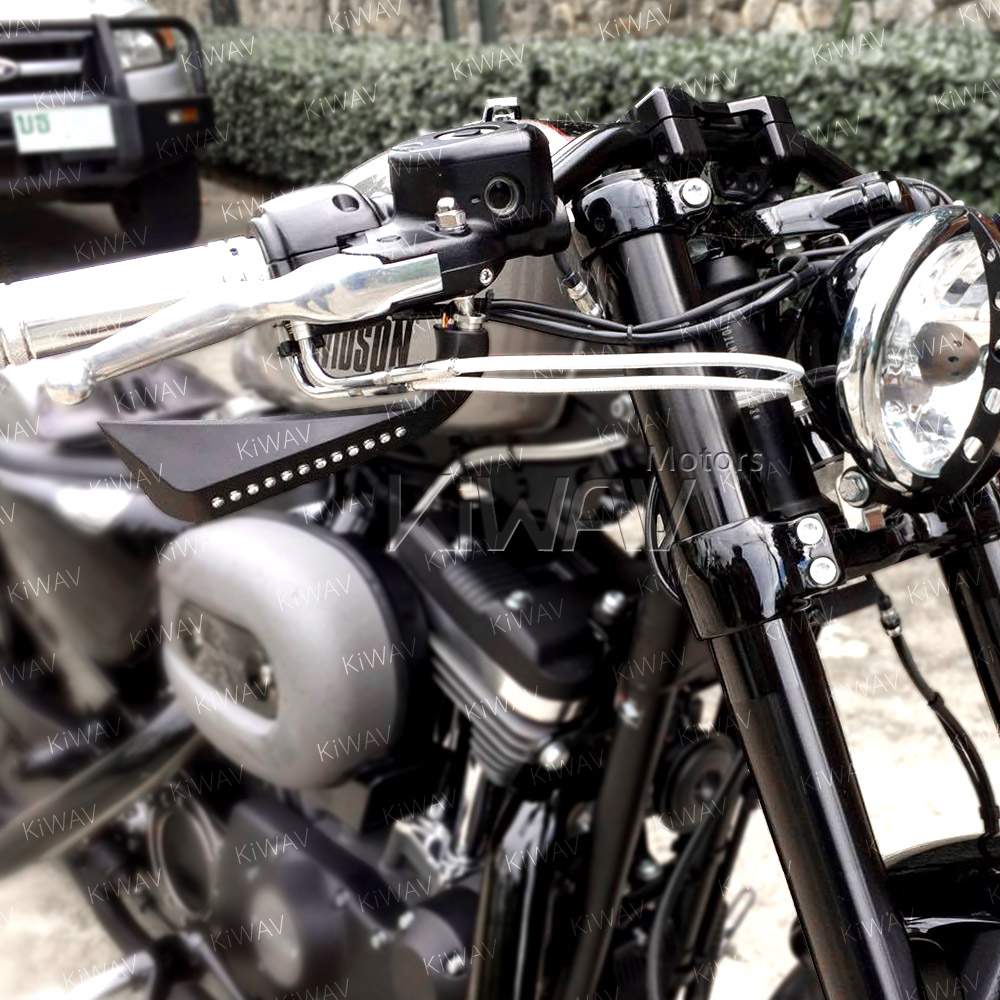
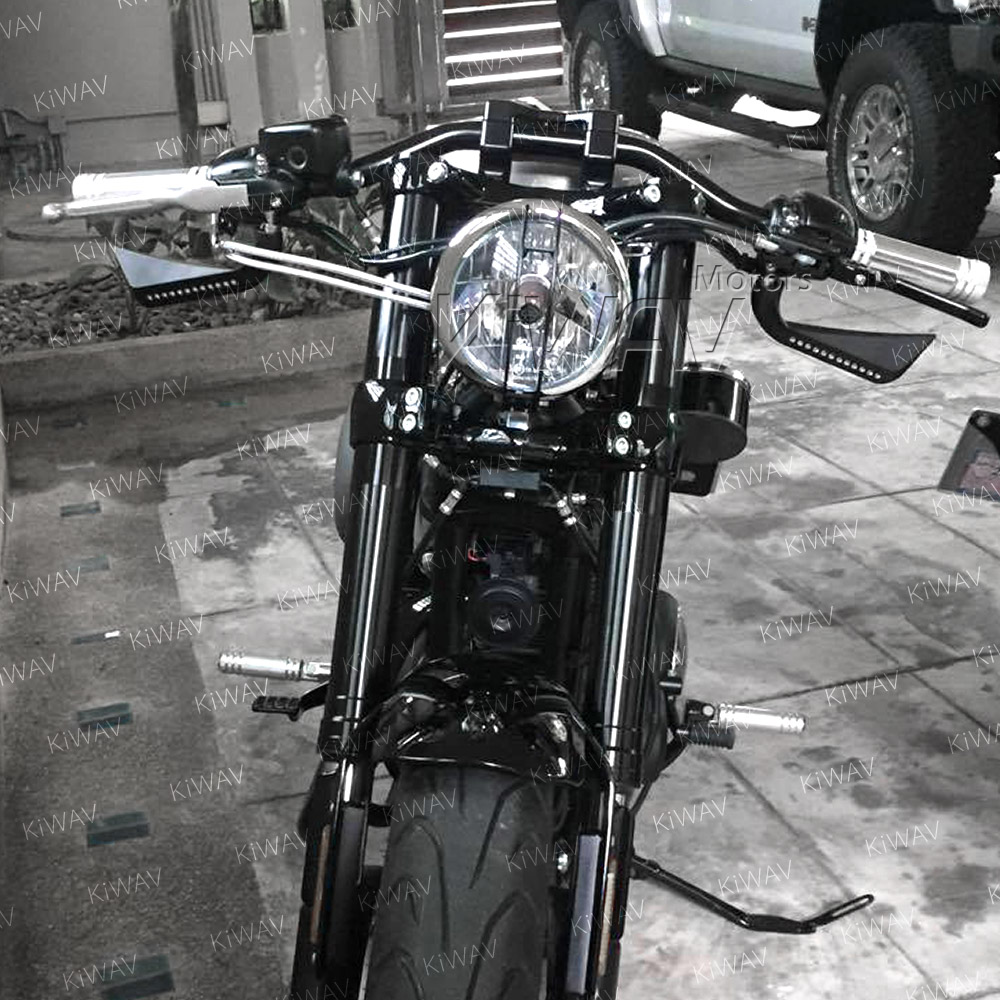

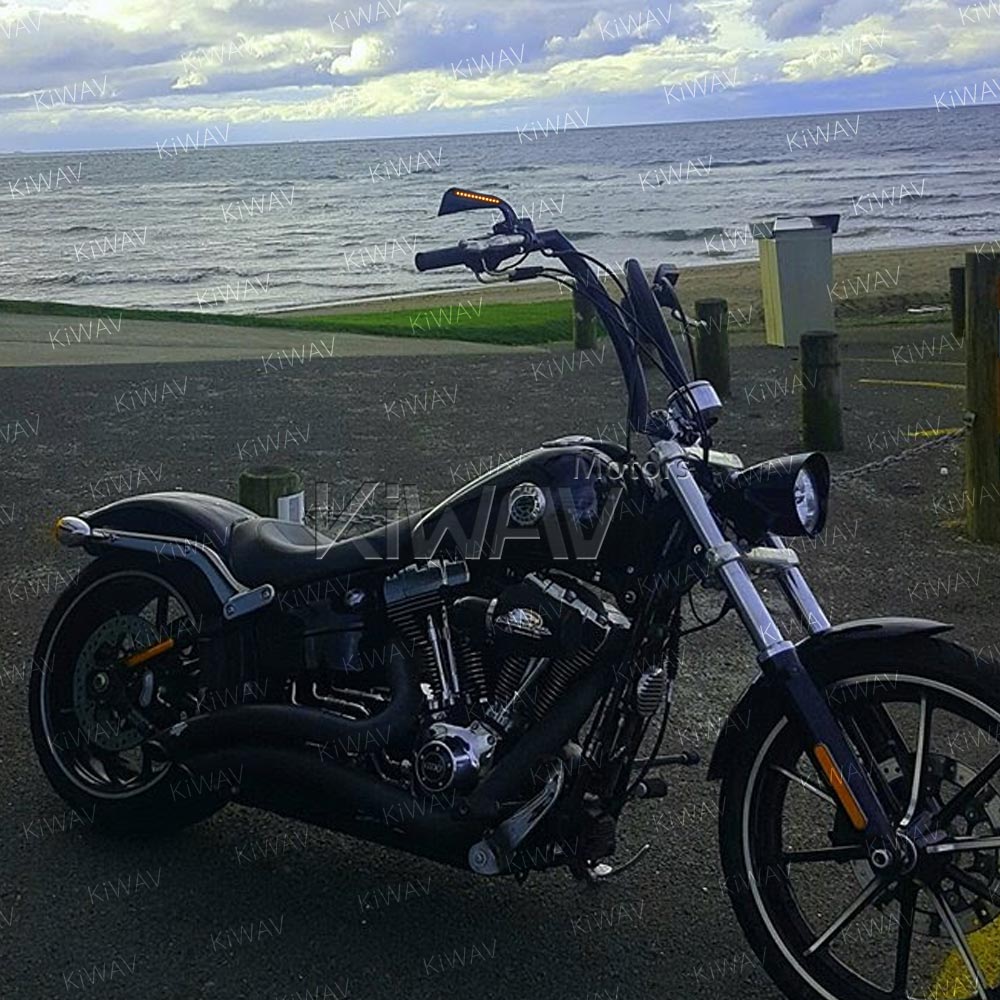
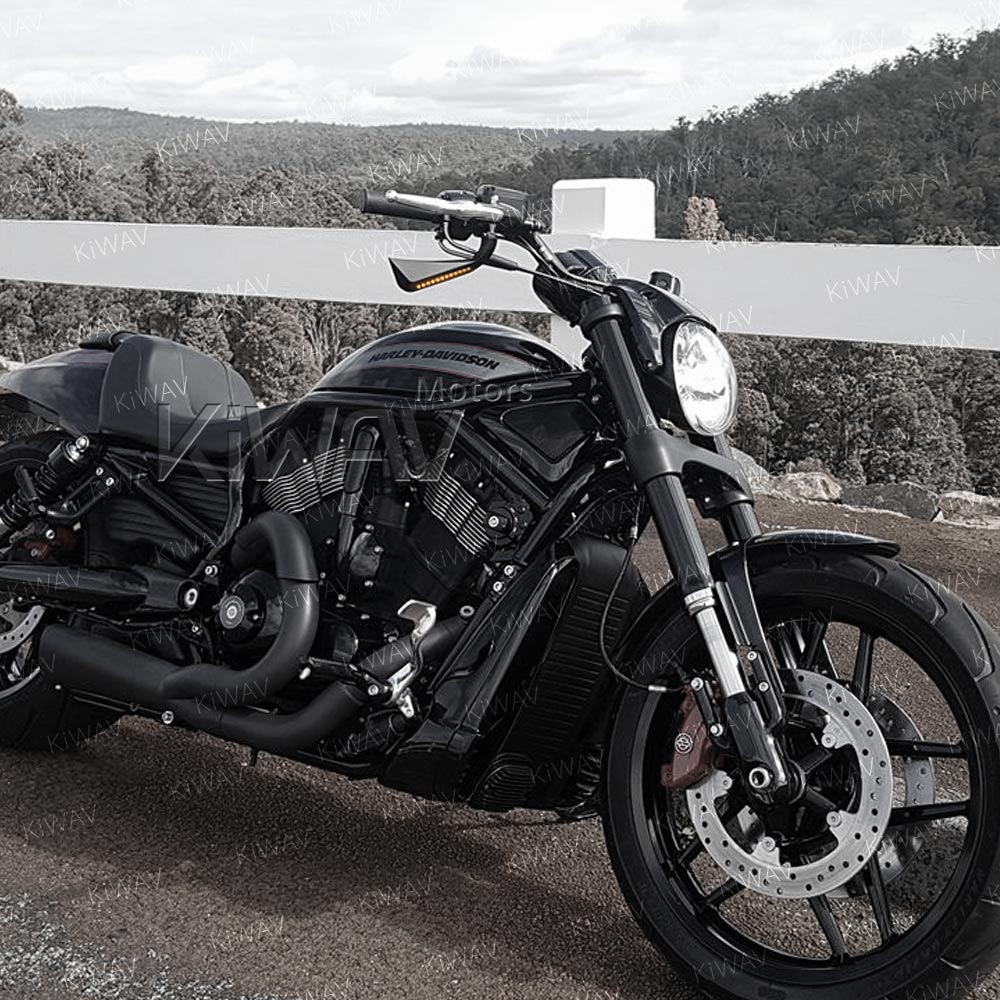
 Editor's Pick: Enhanced Vibration Stability
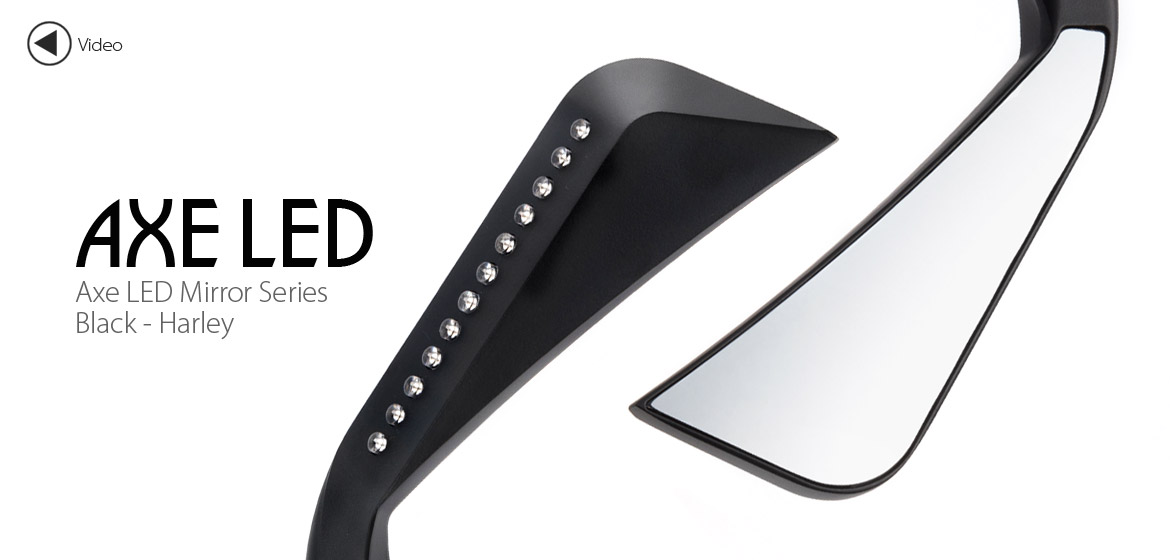
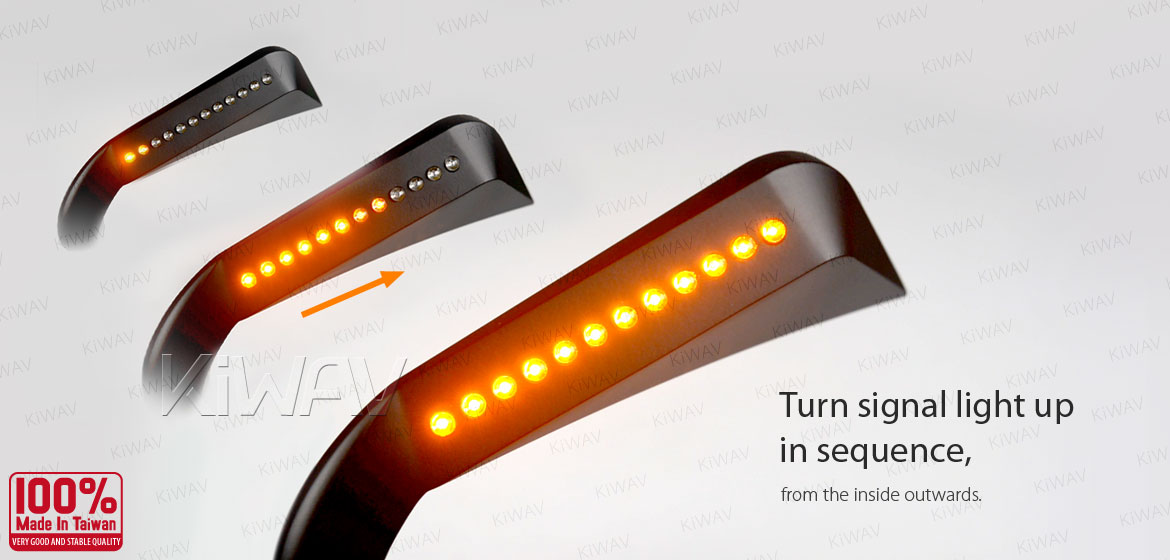
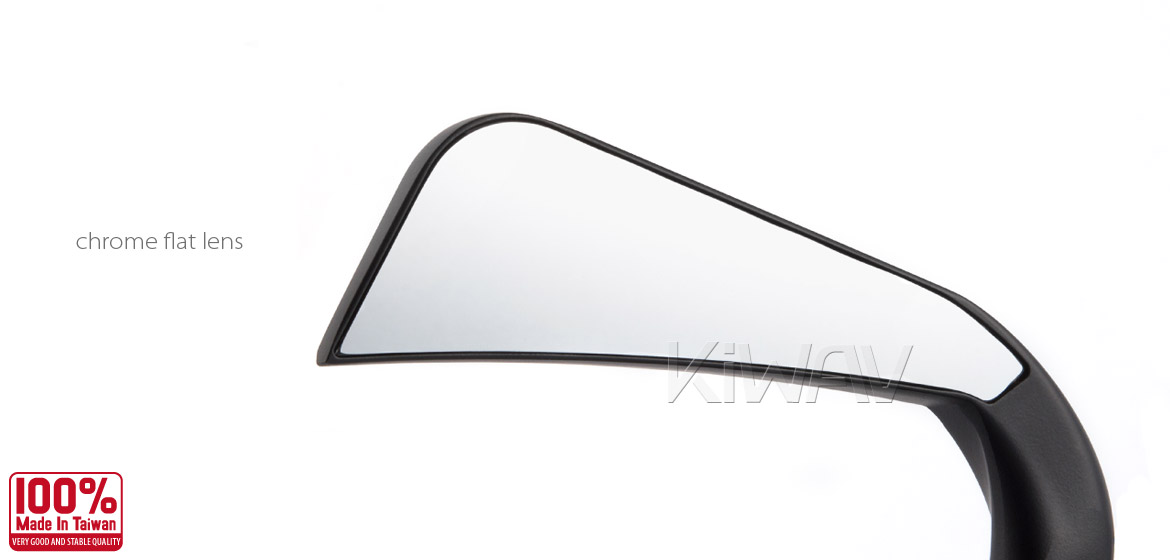
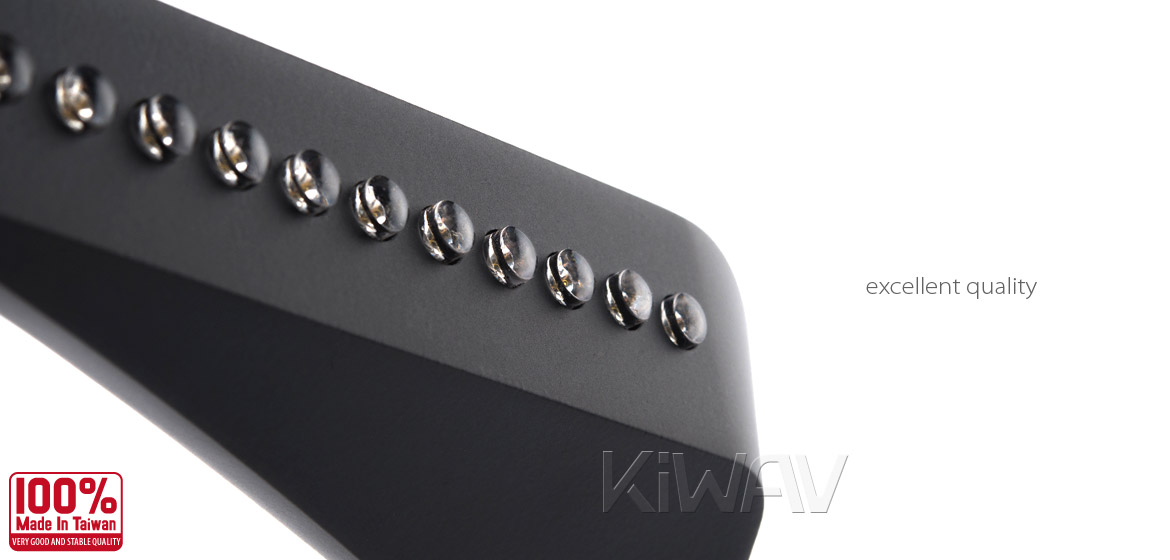
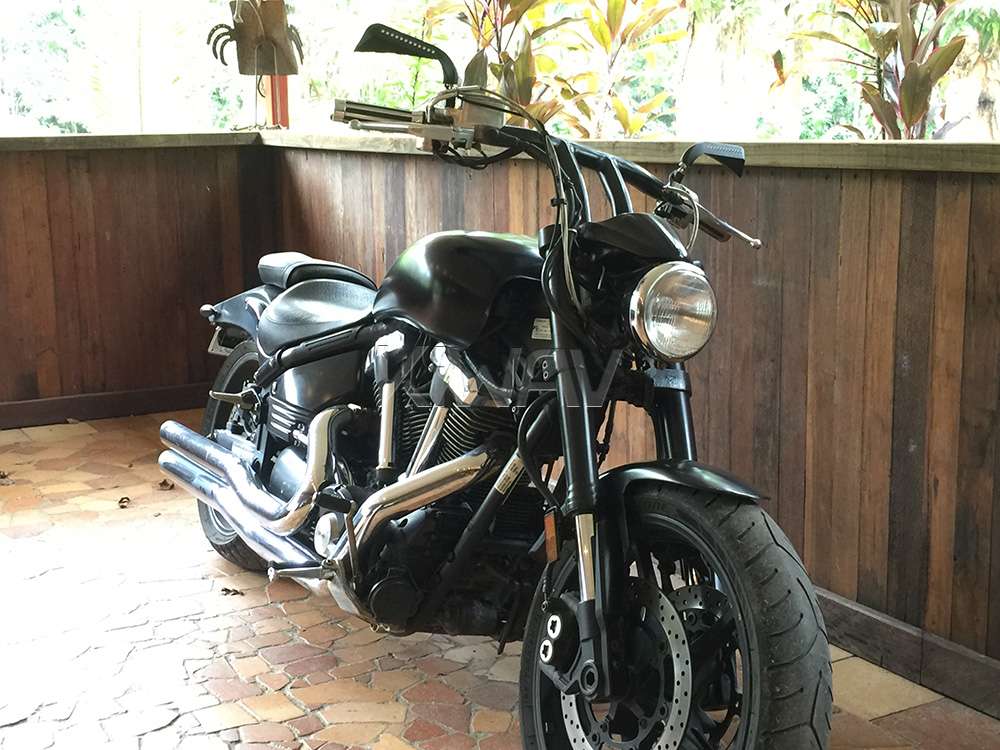
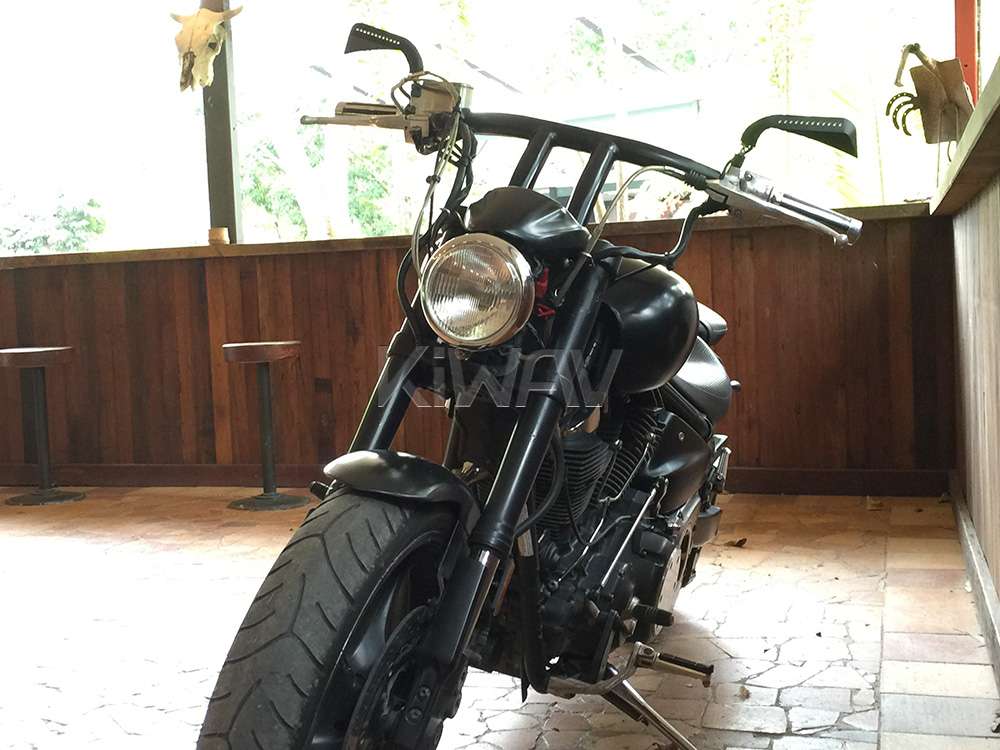
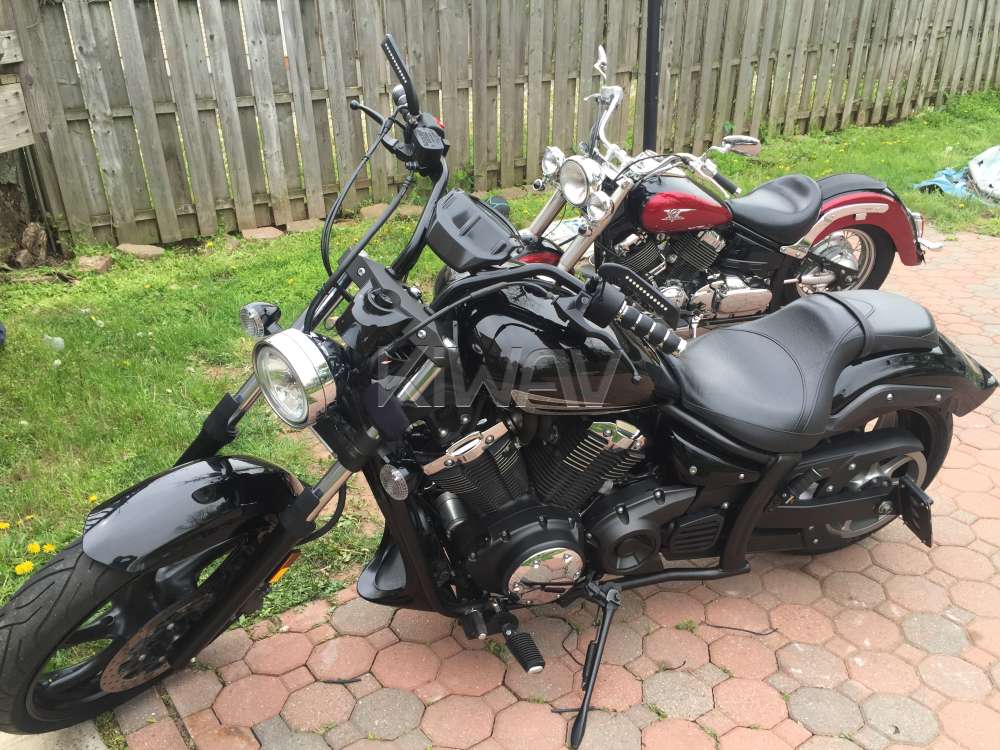
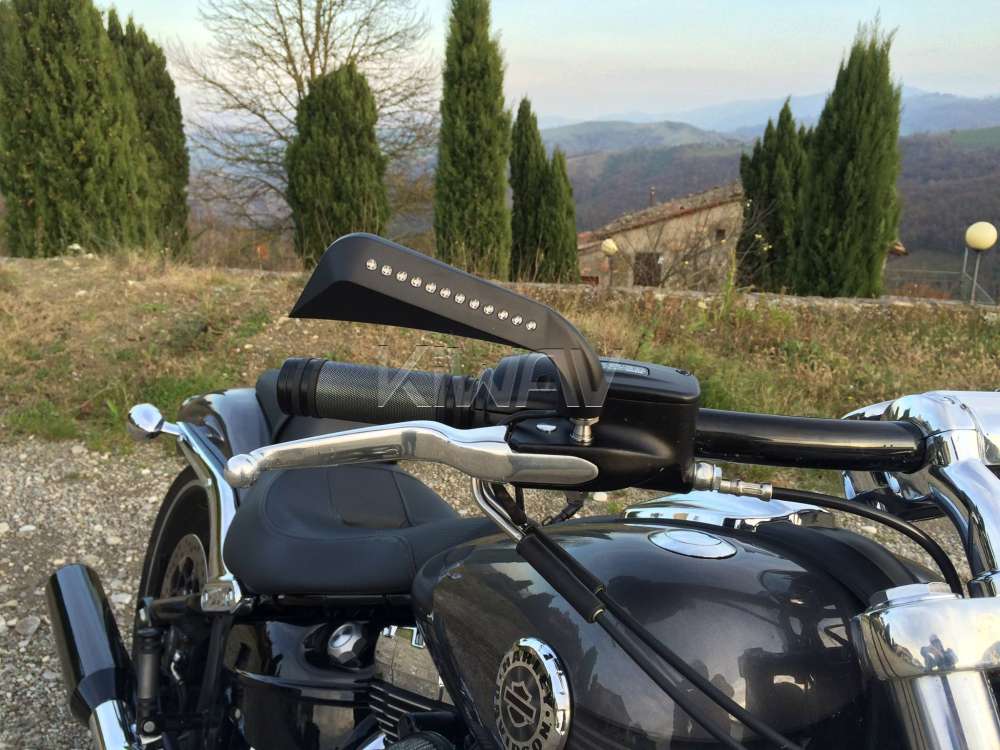
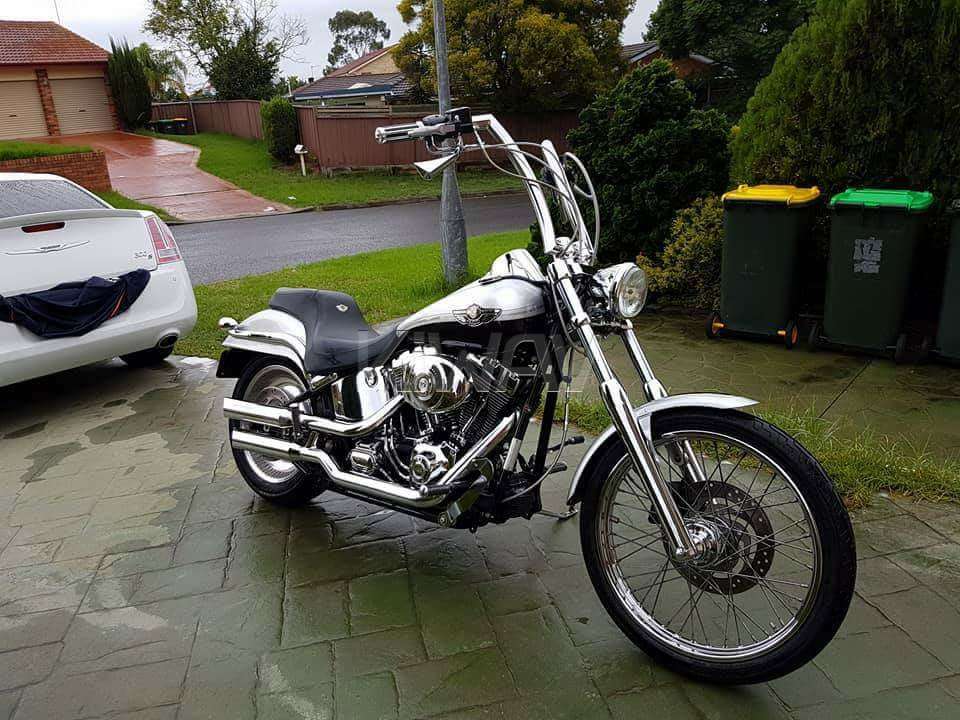
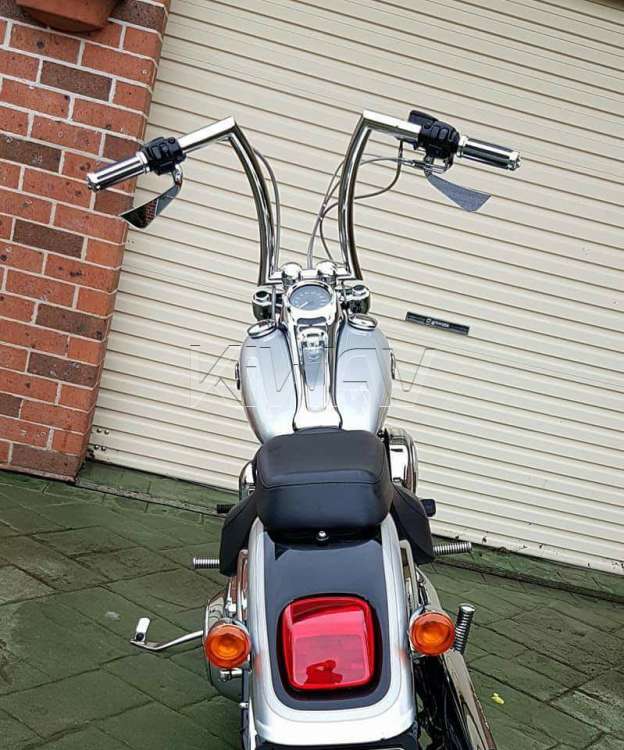
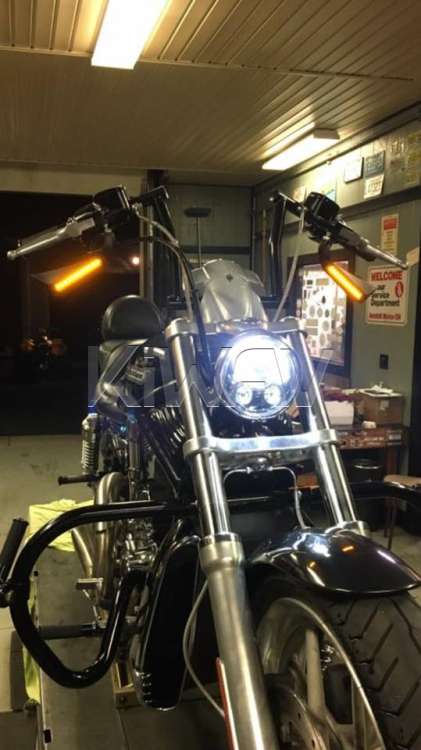
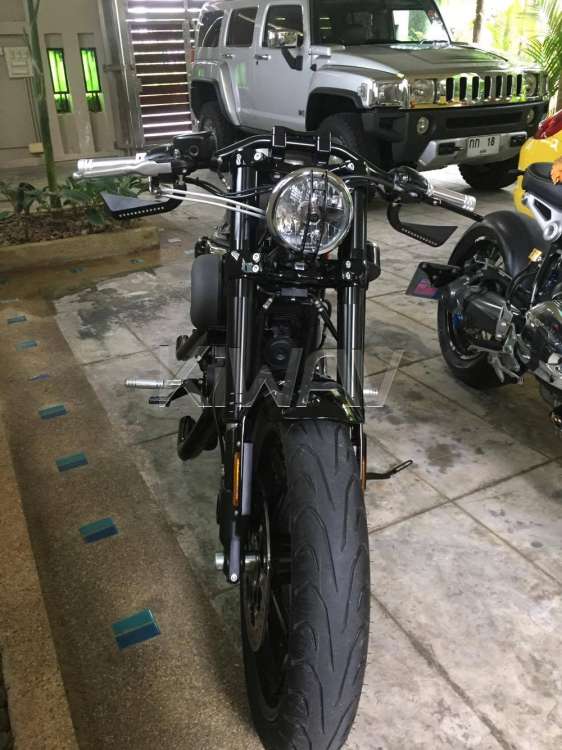
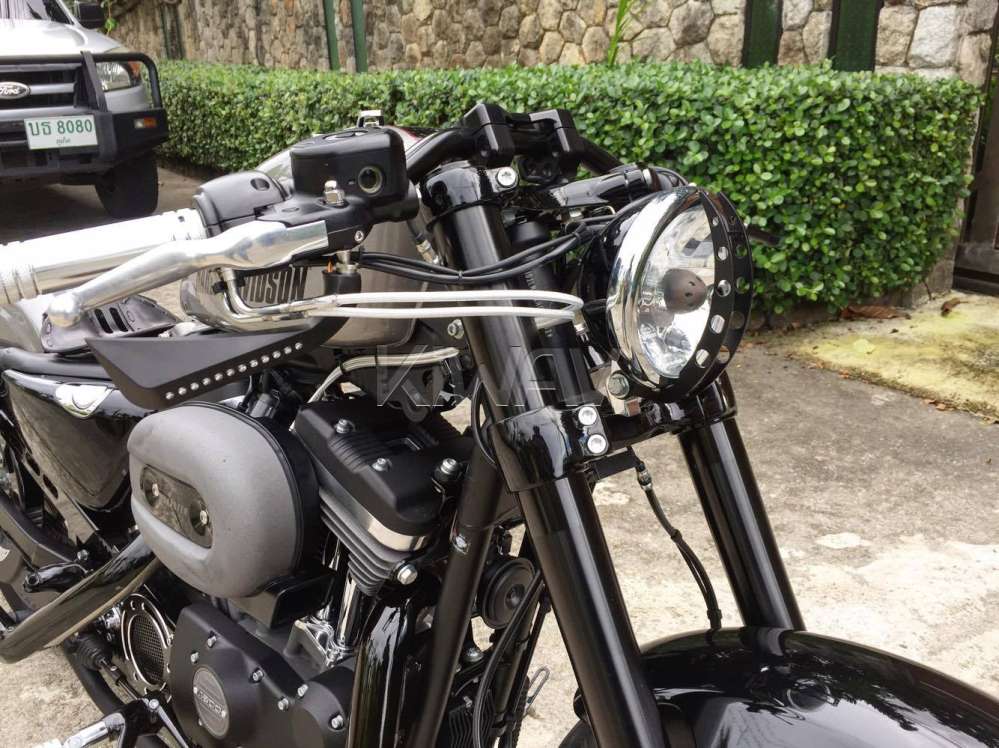
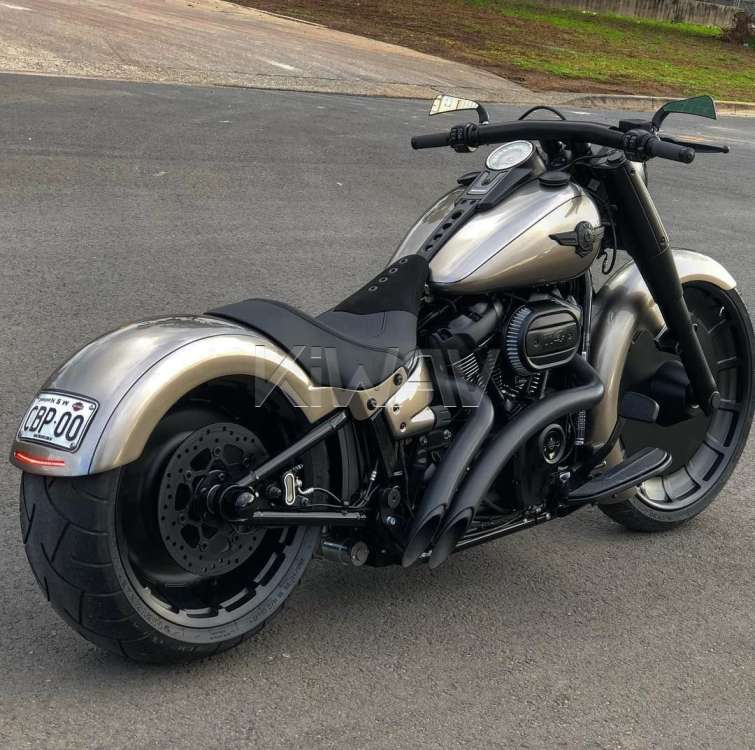
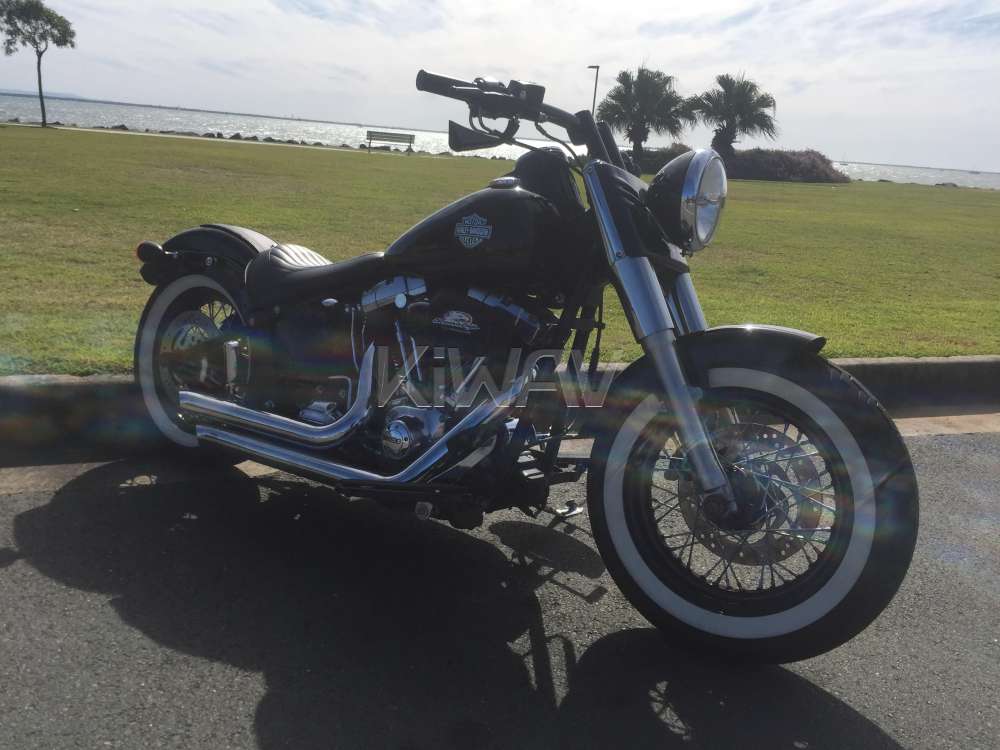
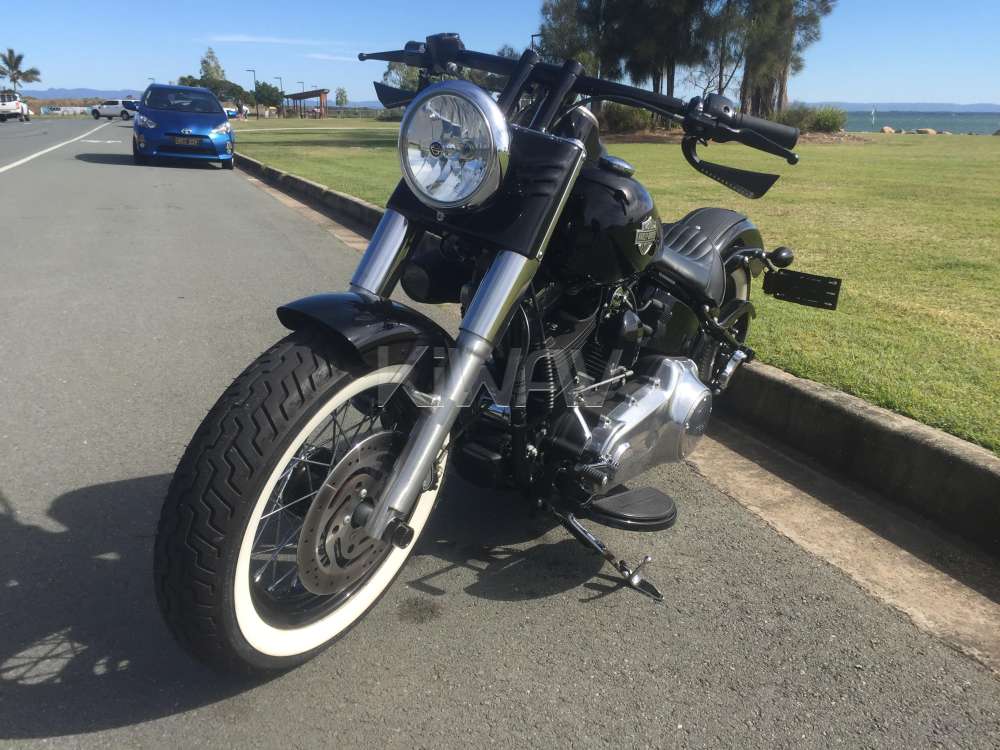
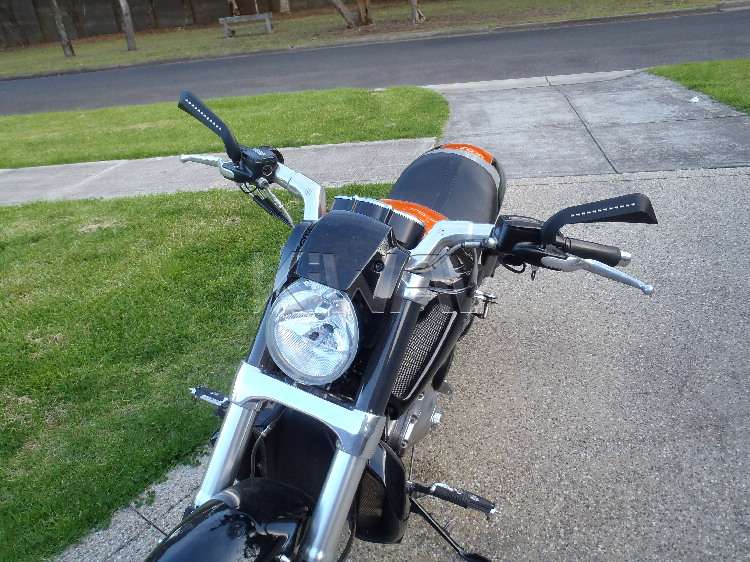
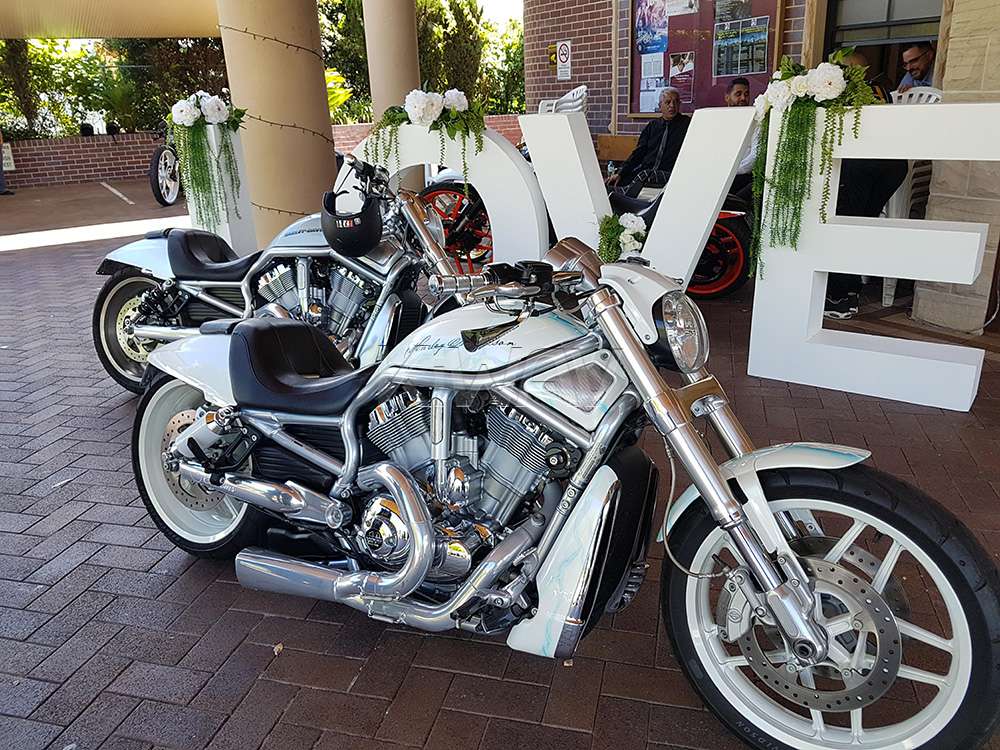
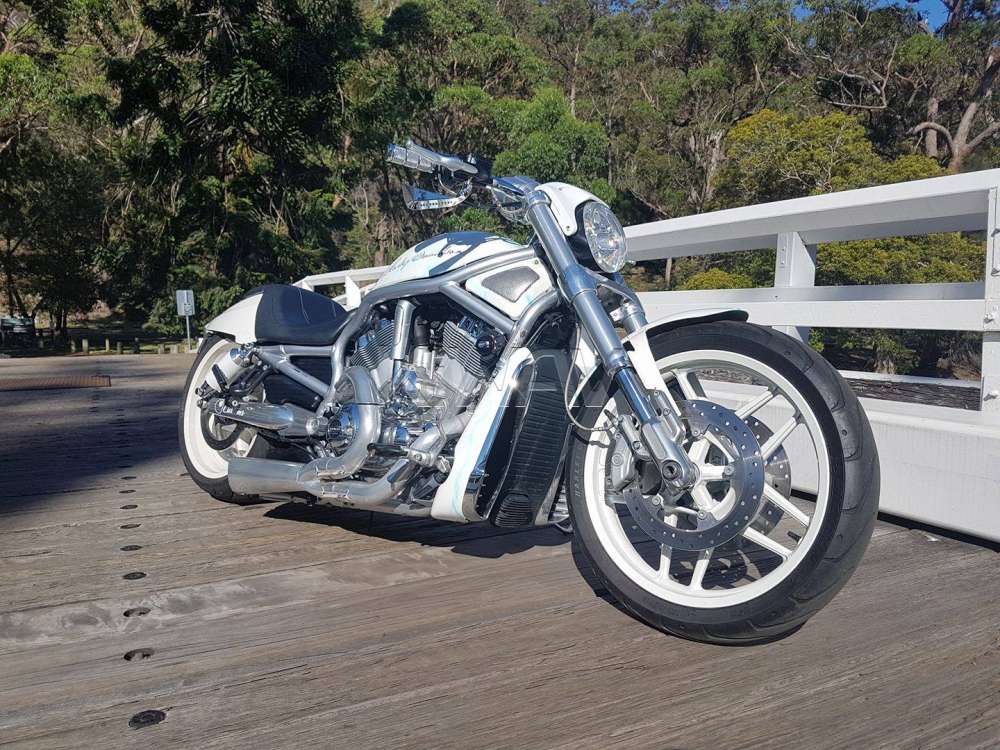
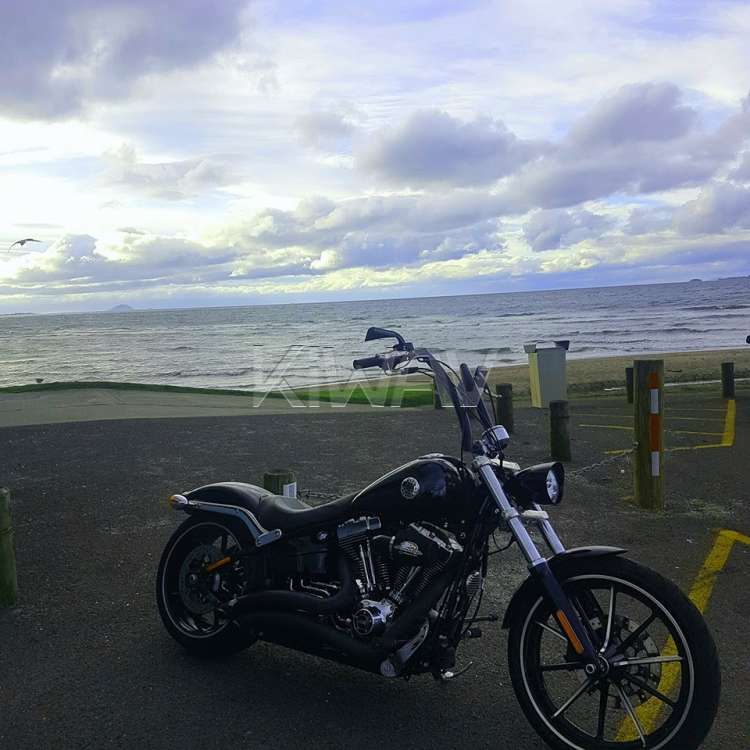
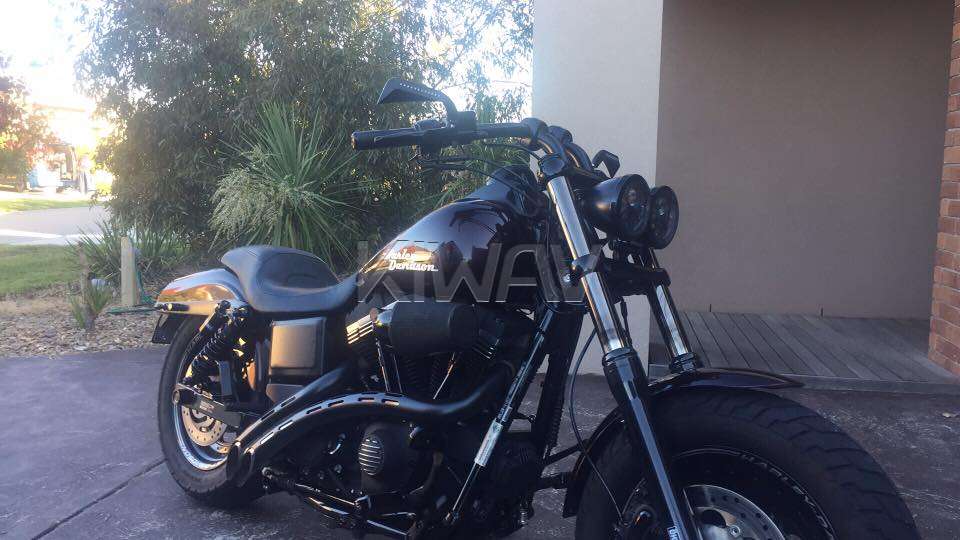
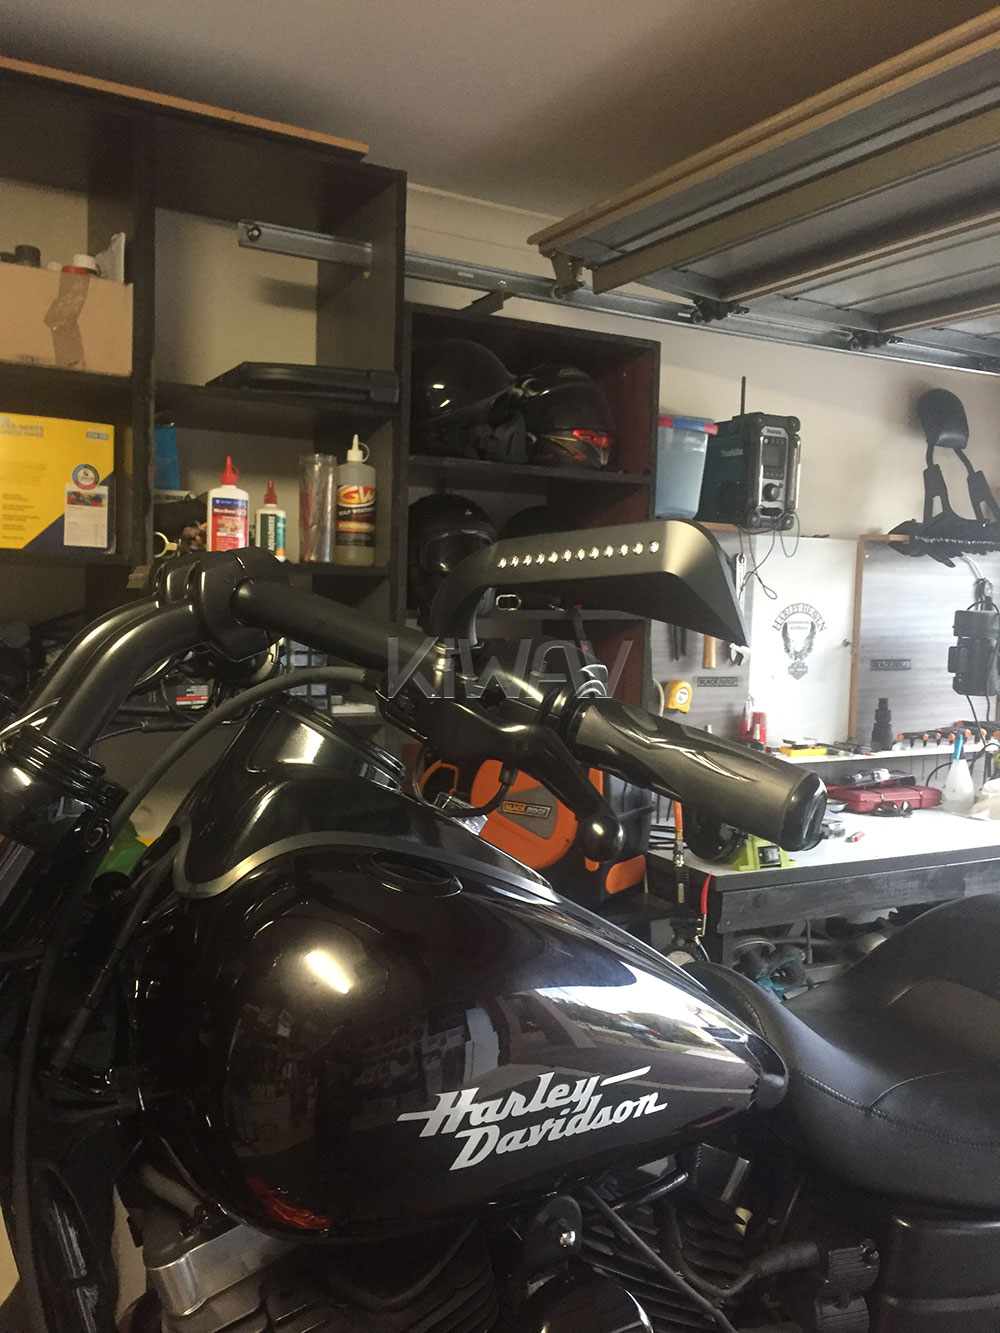
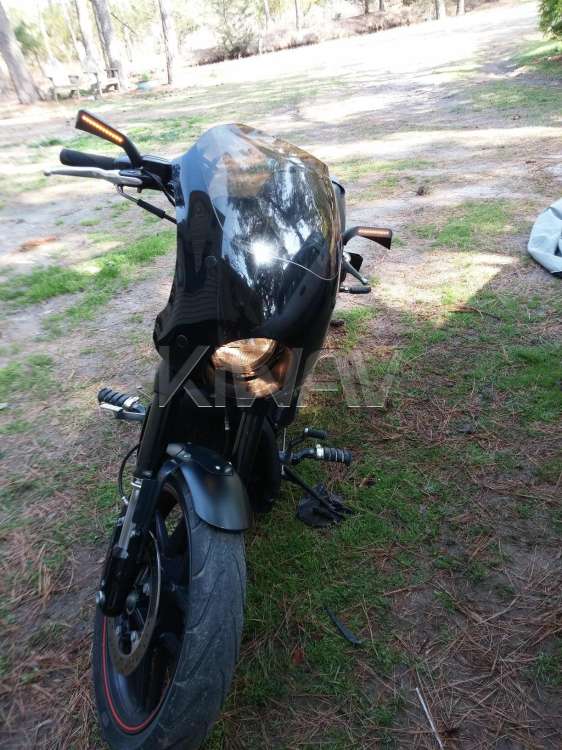
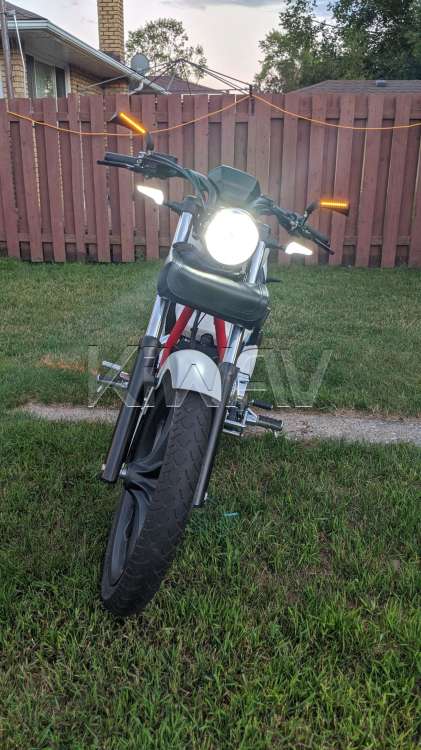

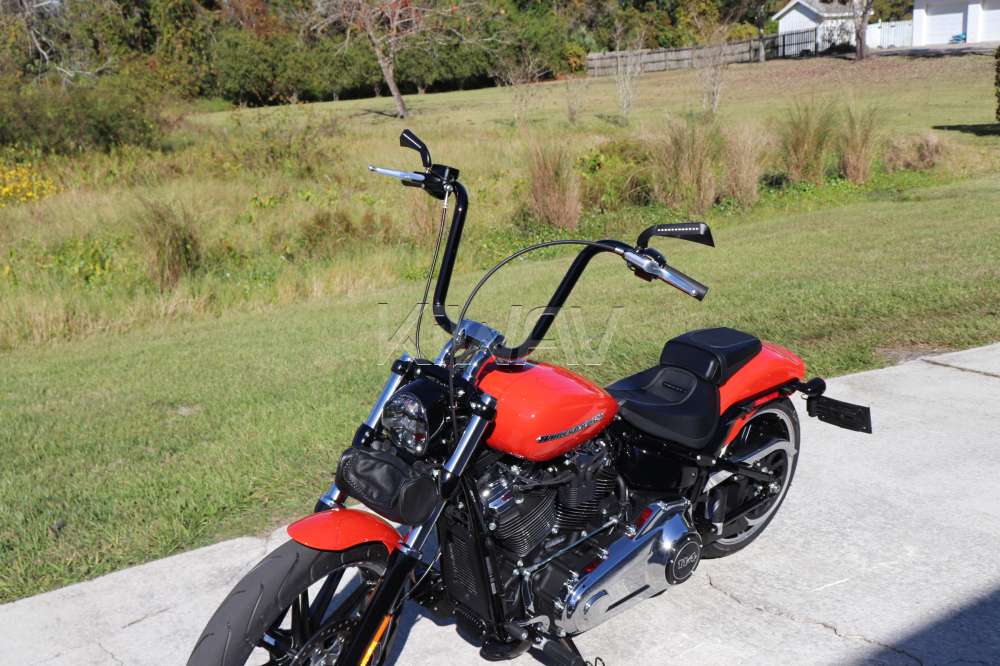
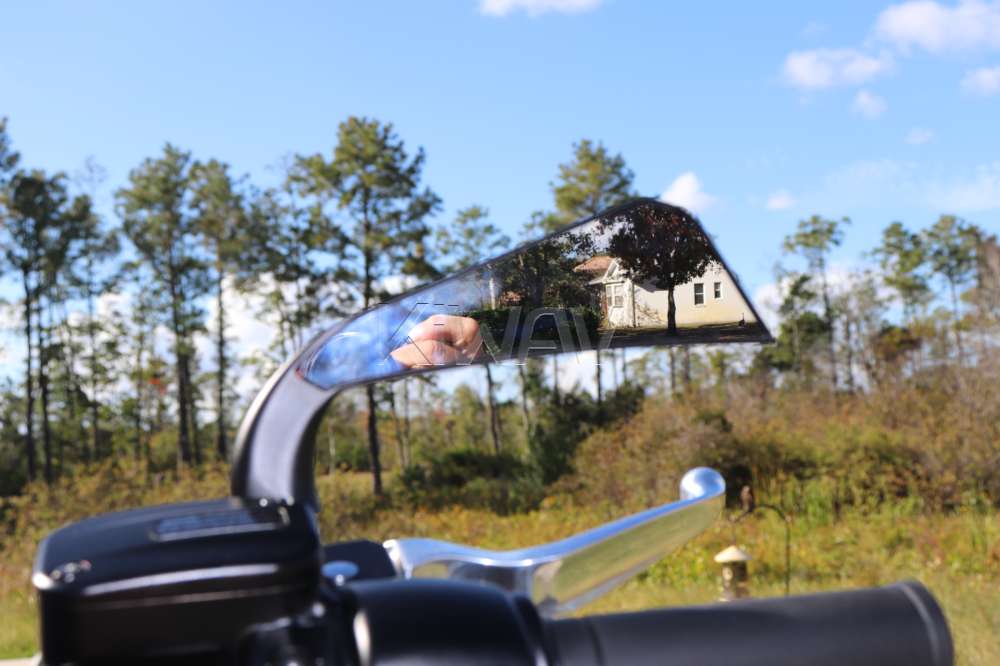
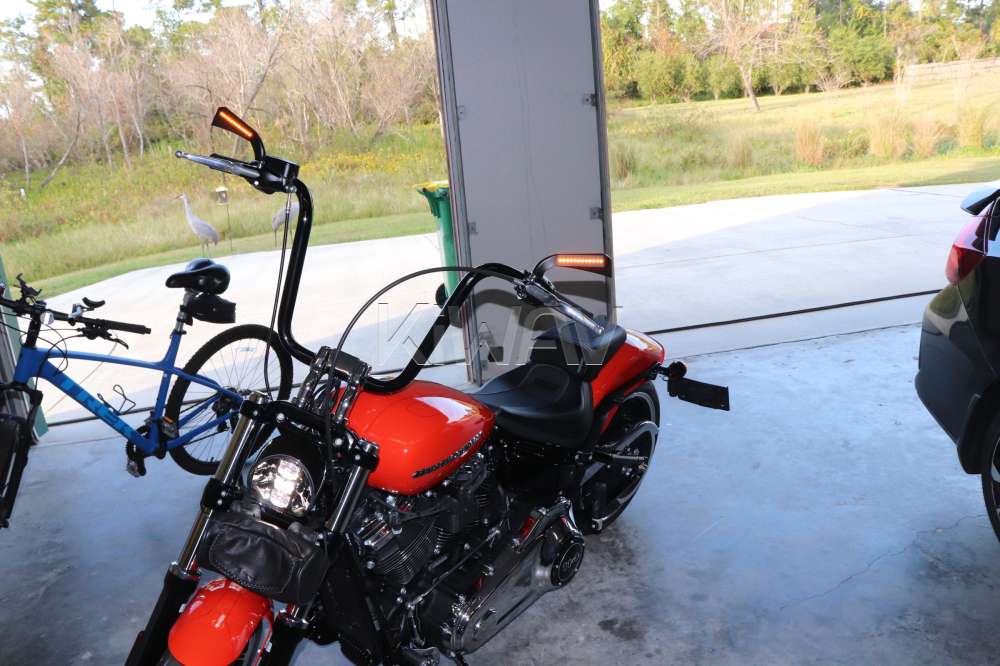
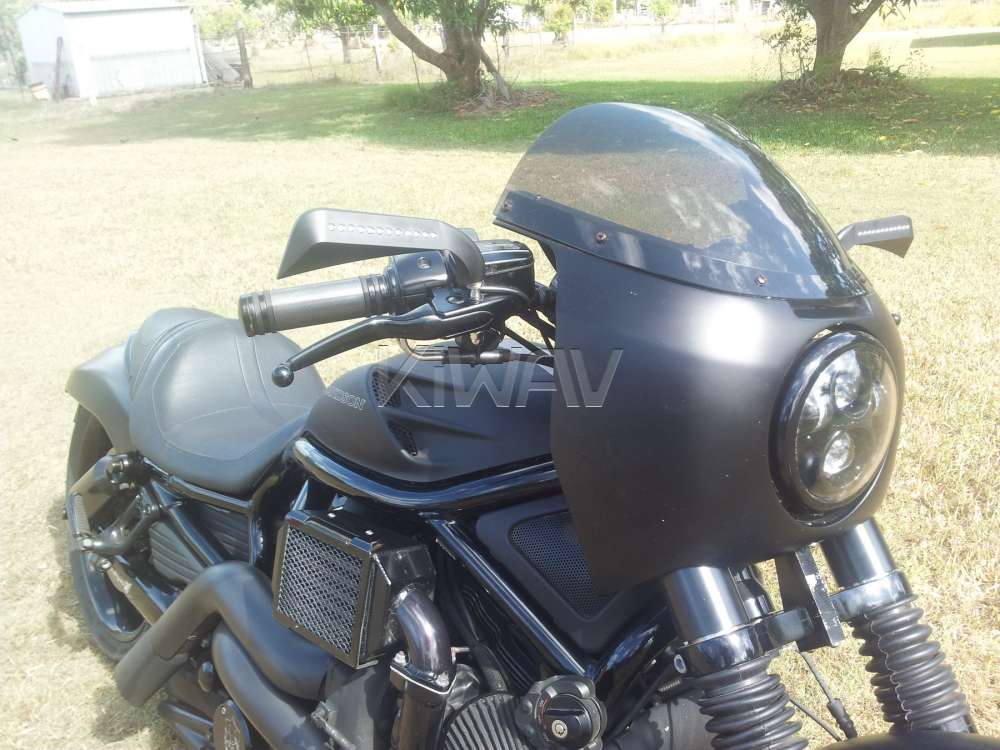
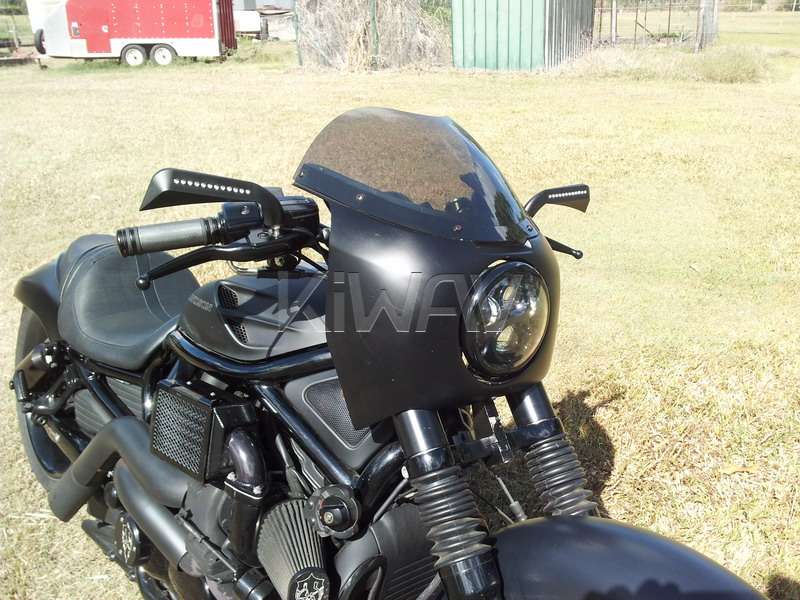
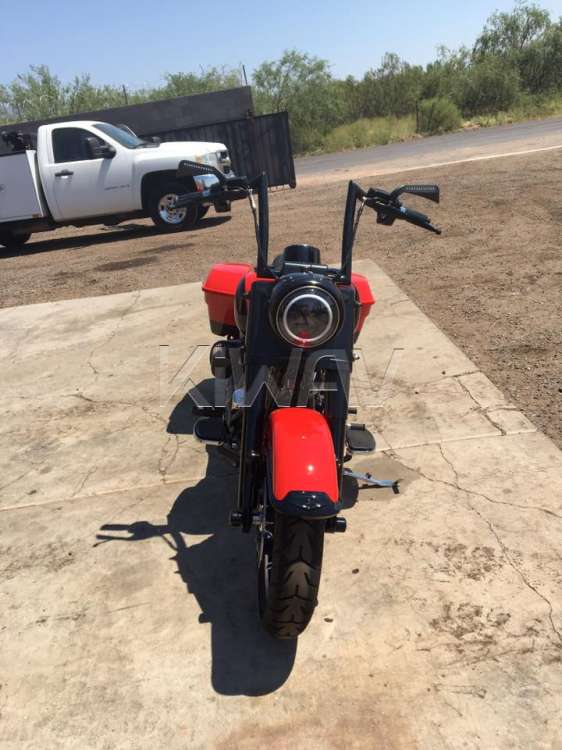
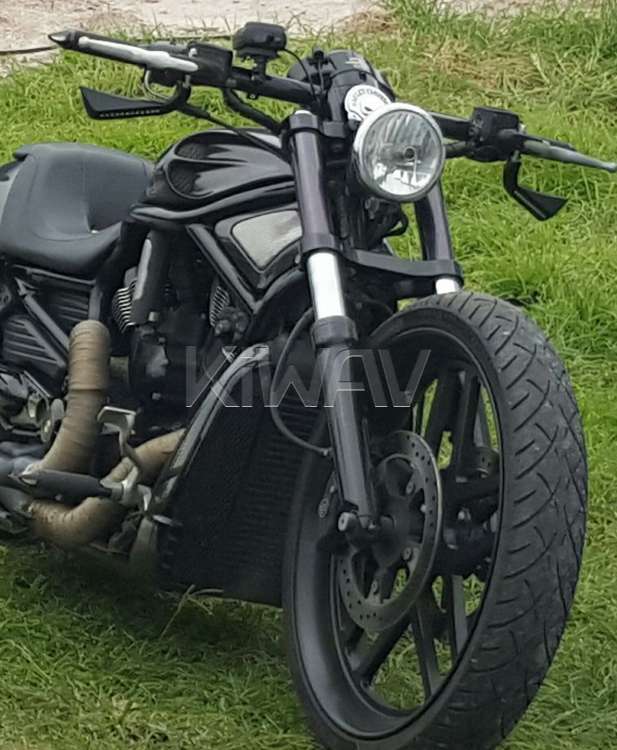
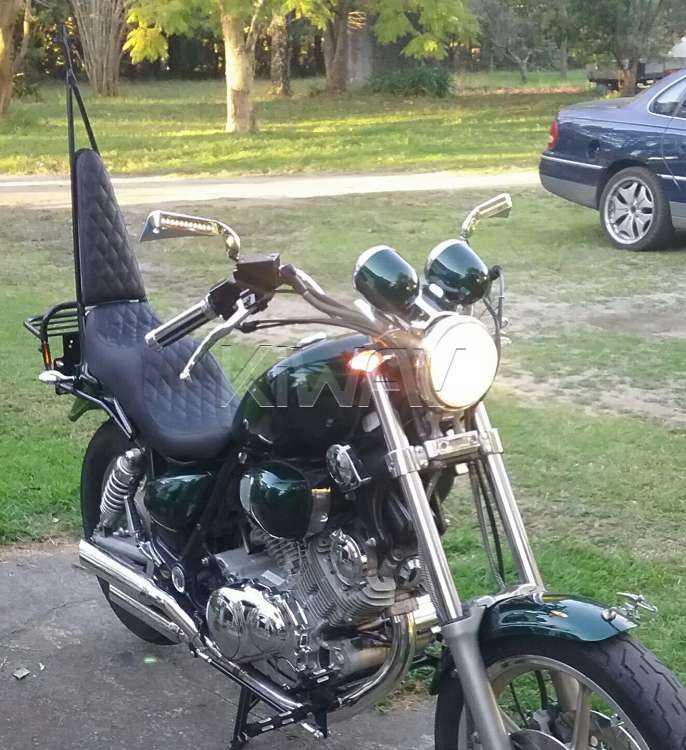
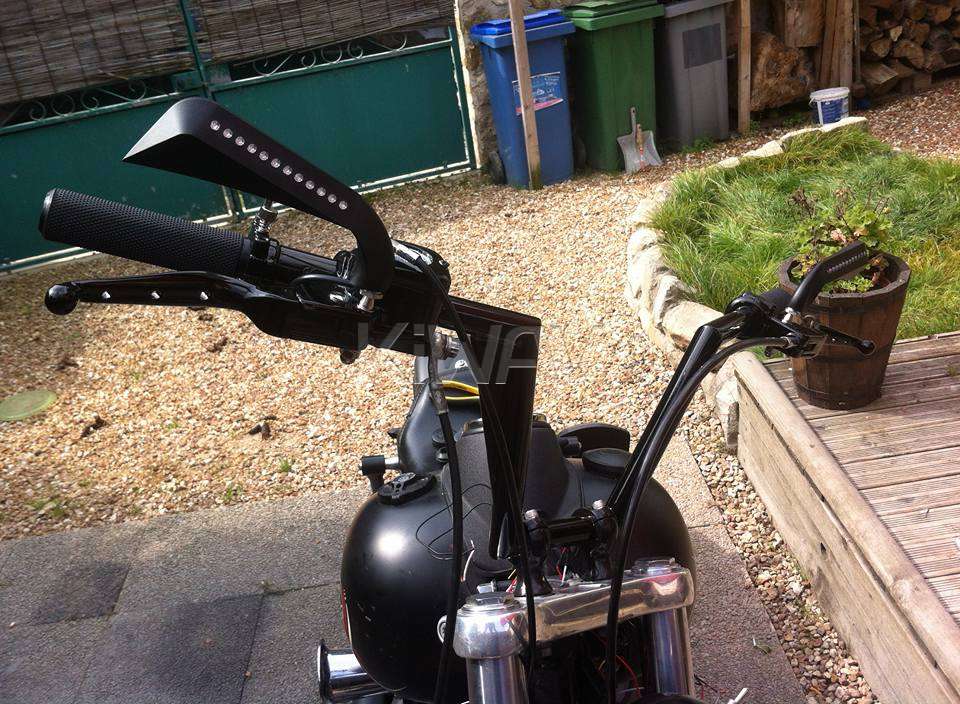

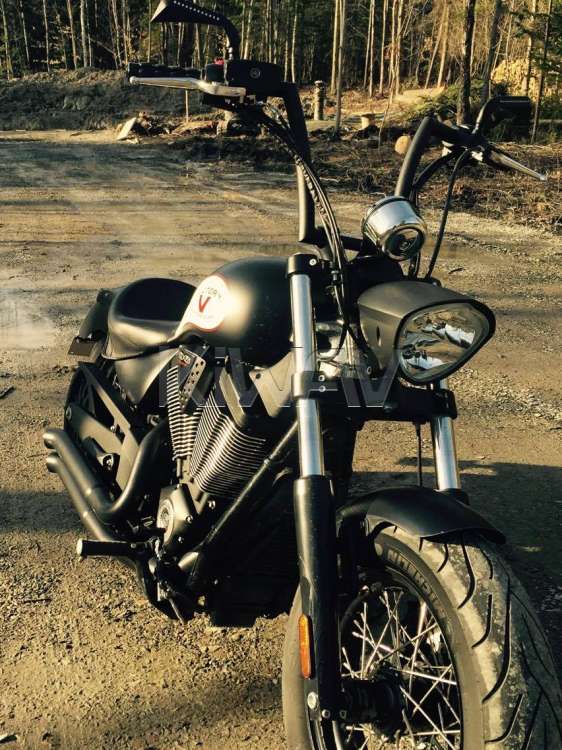
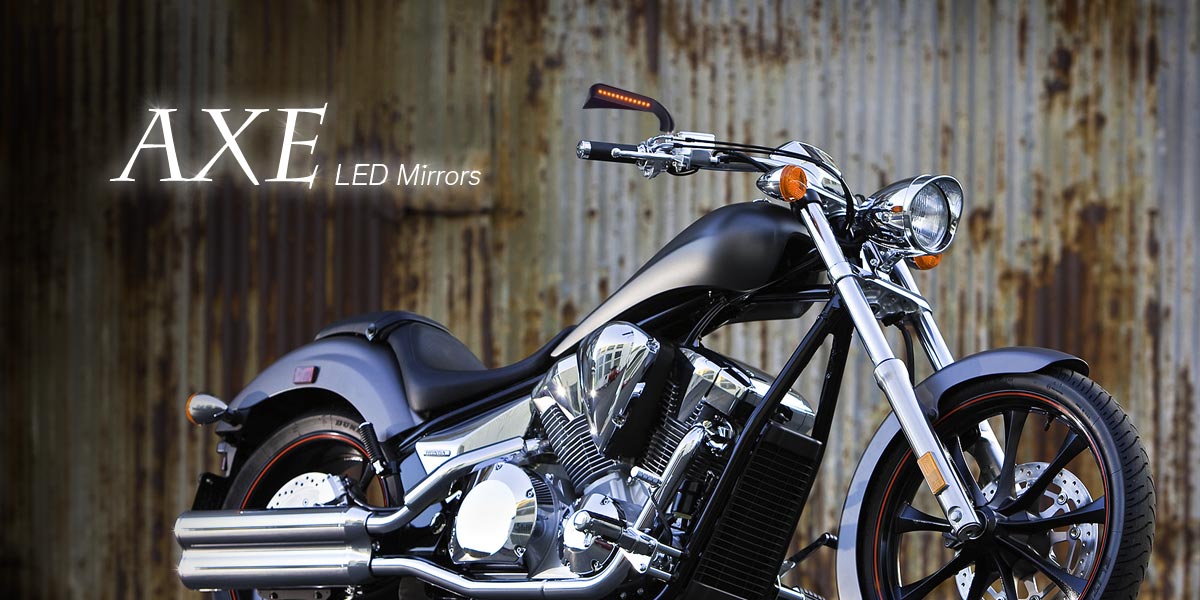
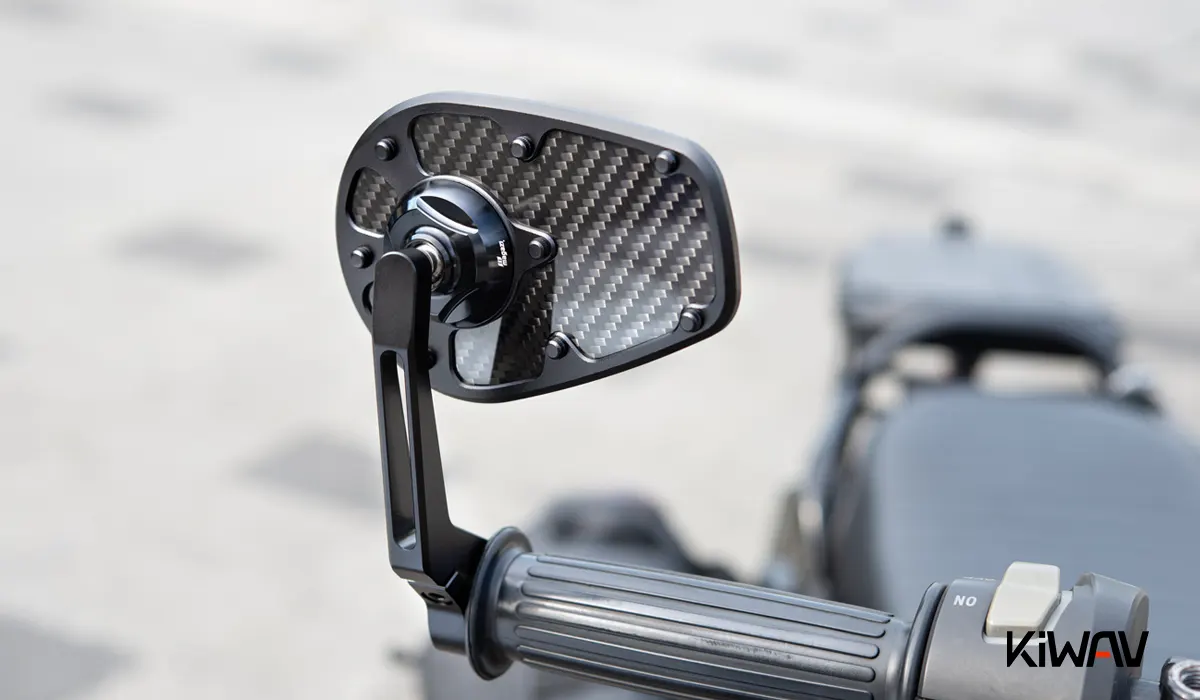
This guide covers the installation of KiWAV Axe series mirrors on Harley-Davidson motorcycles.
Quick answer: Remove the original mirror, retain the original internal tooth lock washer, install the Axe mirror stem through the hand control assembly, add the flat washers, and tighten the mounting hardware to 8–12 ft-lb (10.8–16.3 Nm).
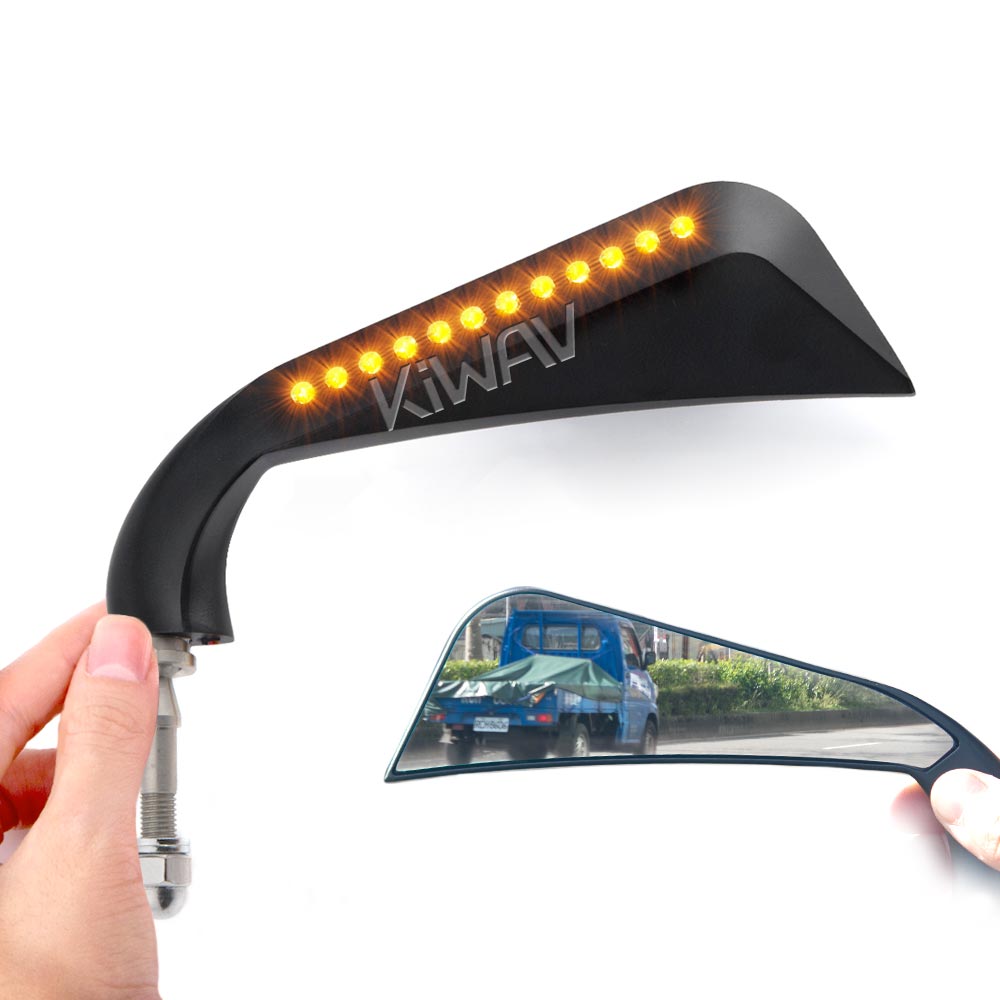
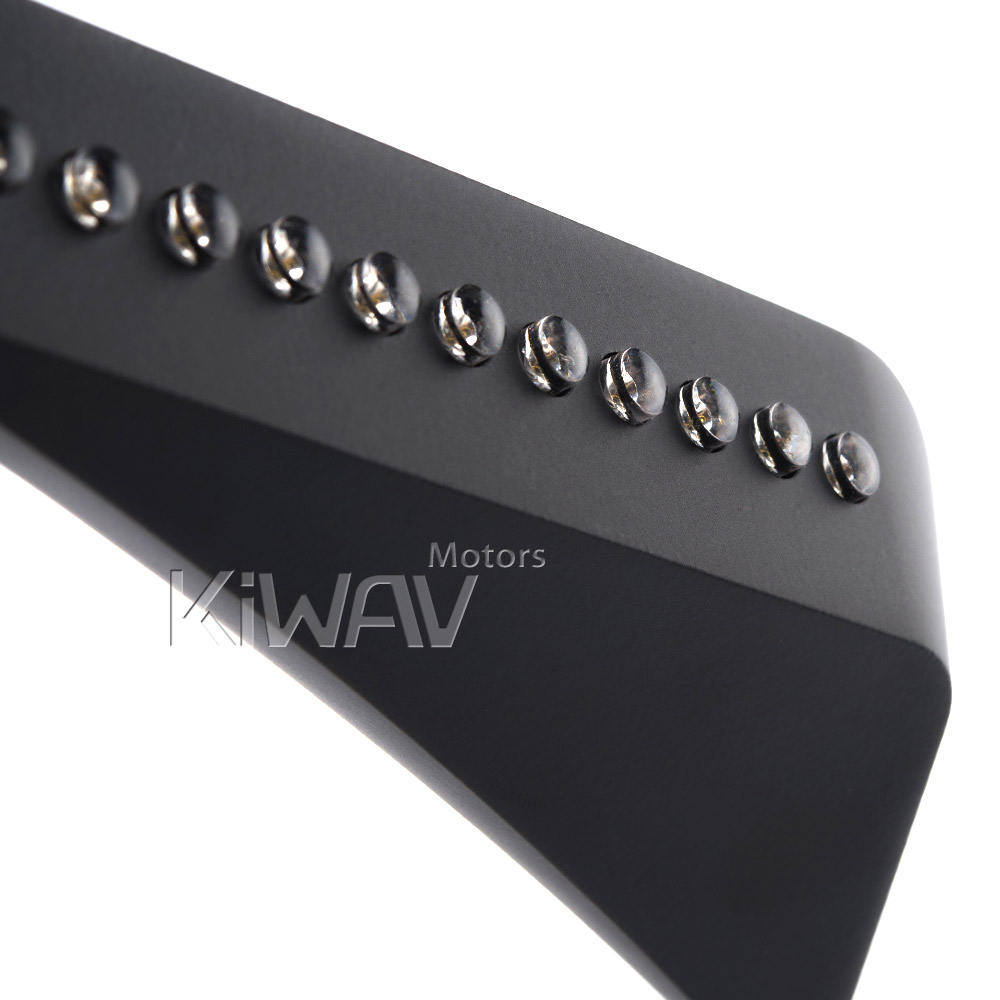
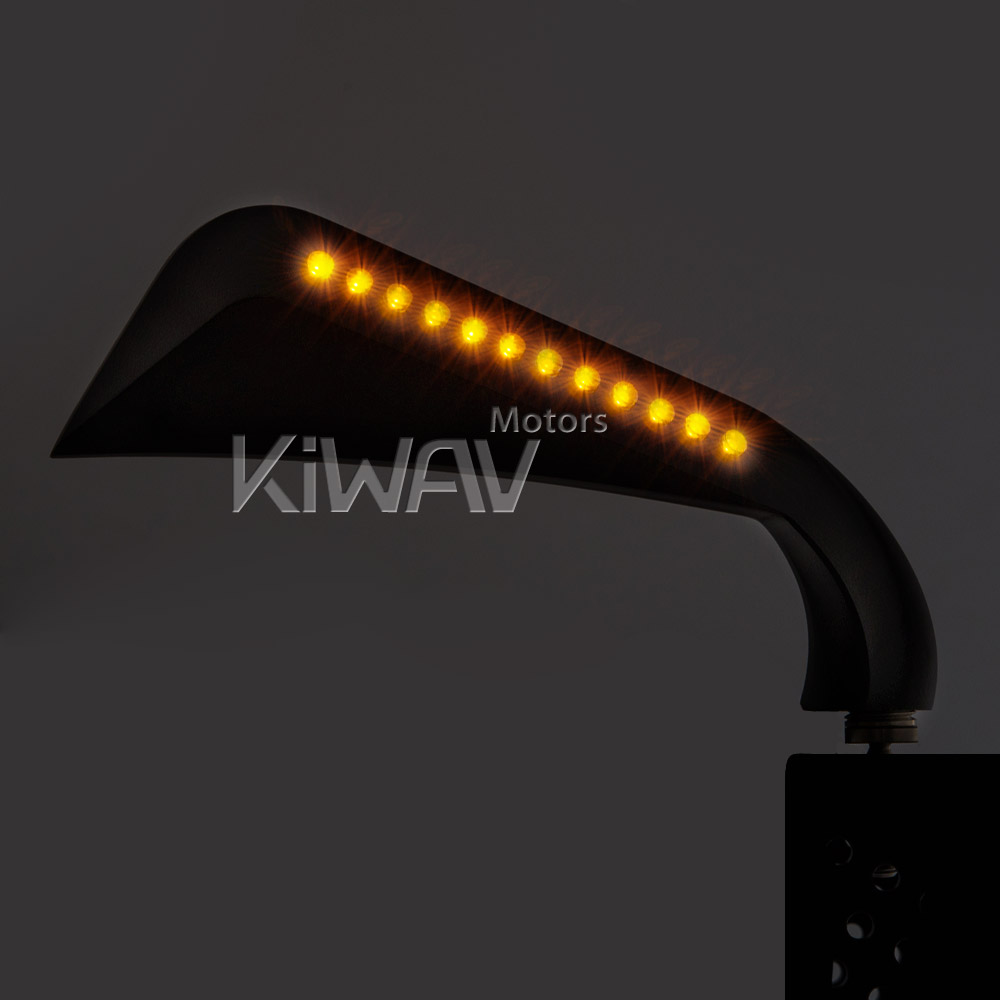
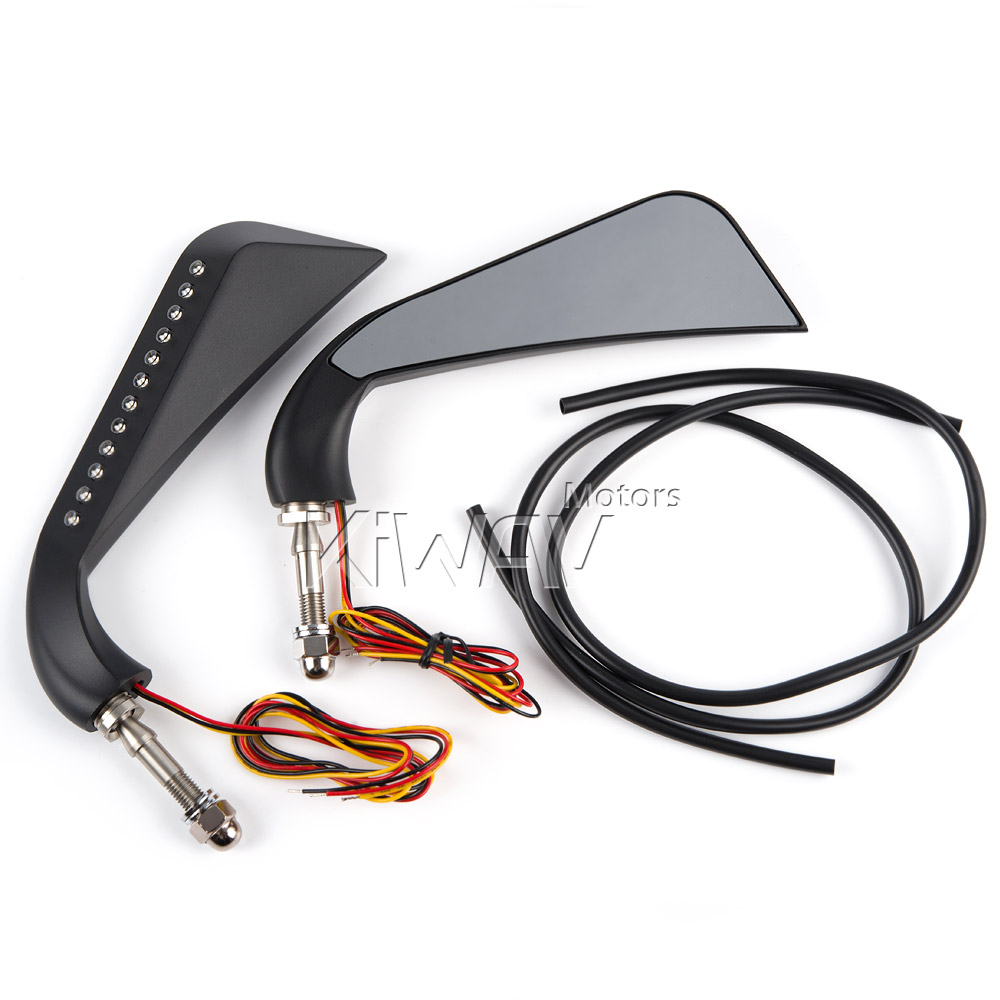
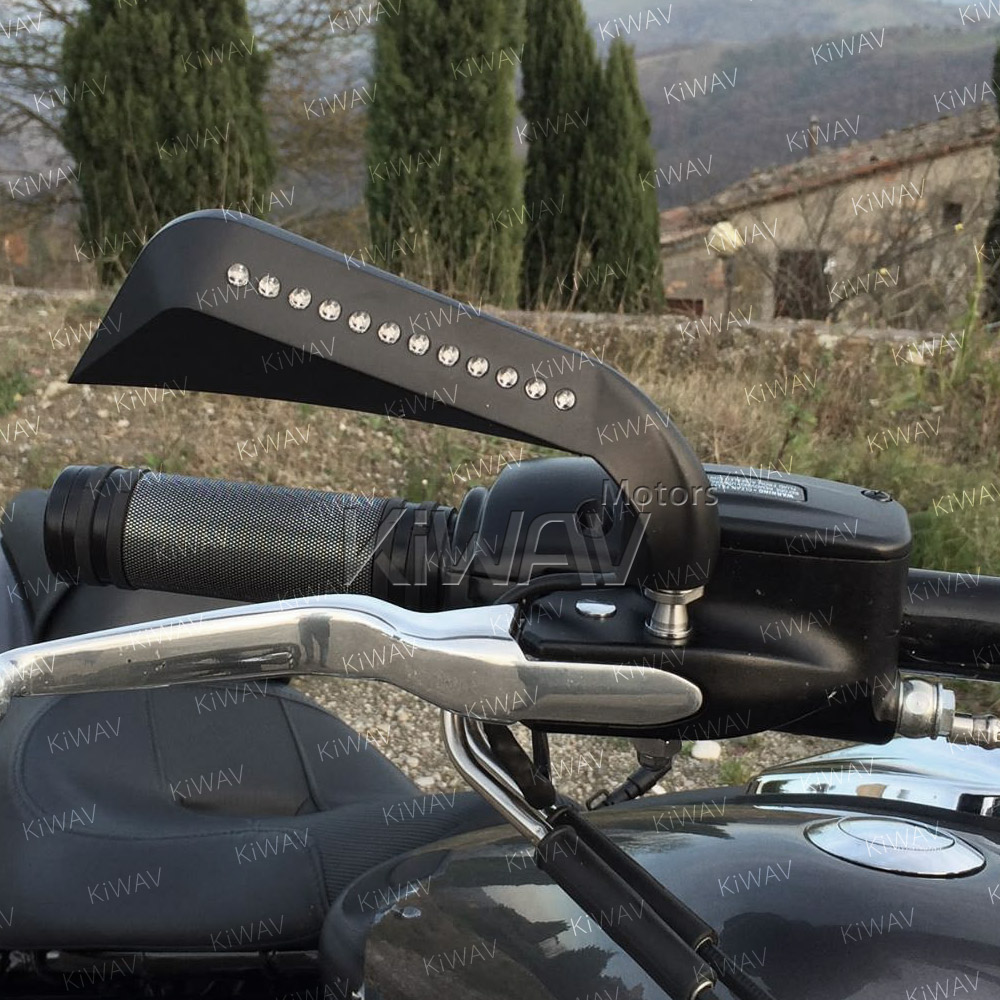
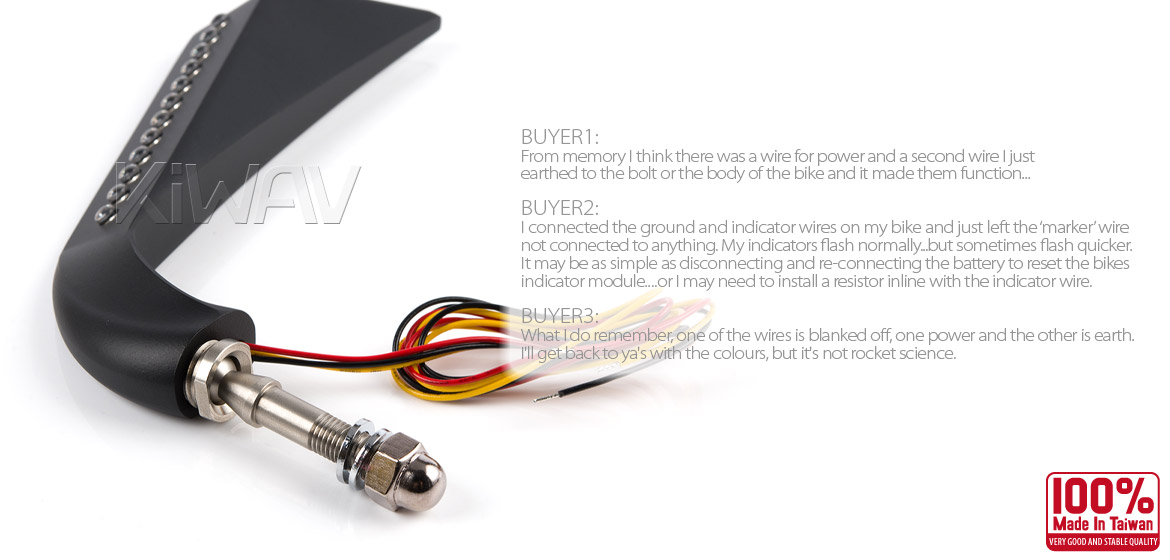
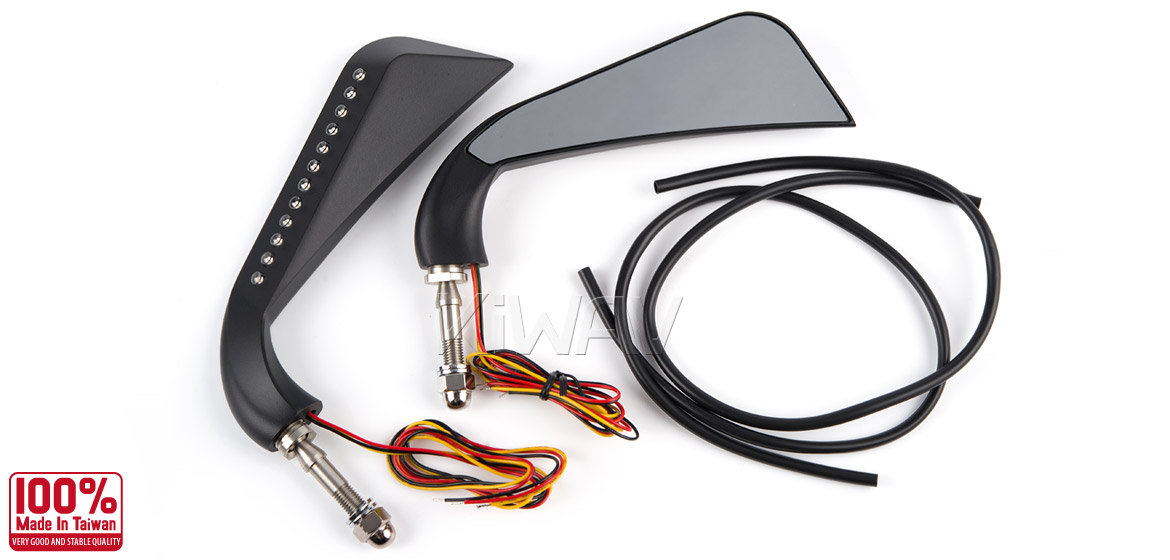
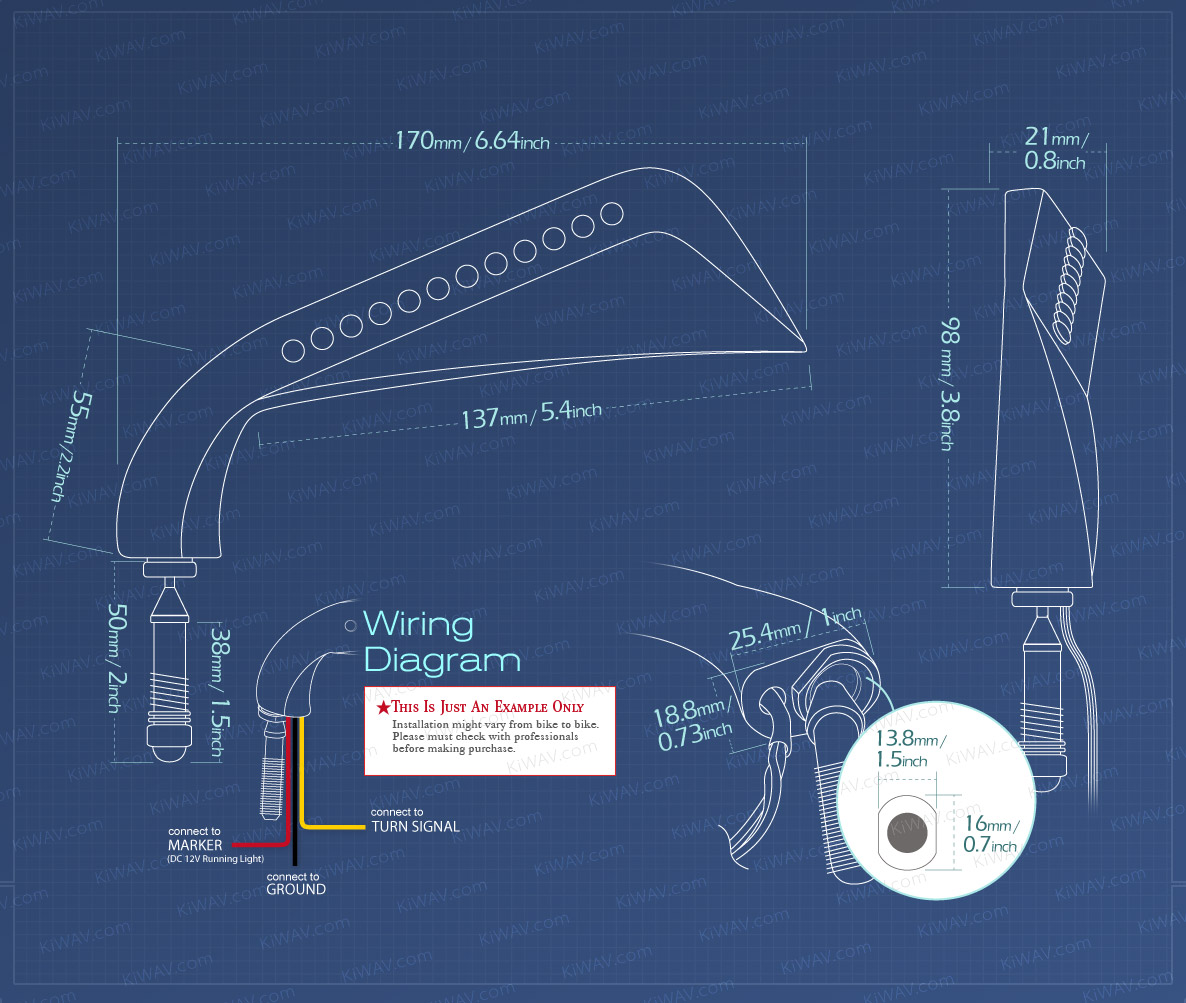
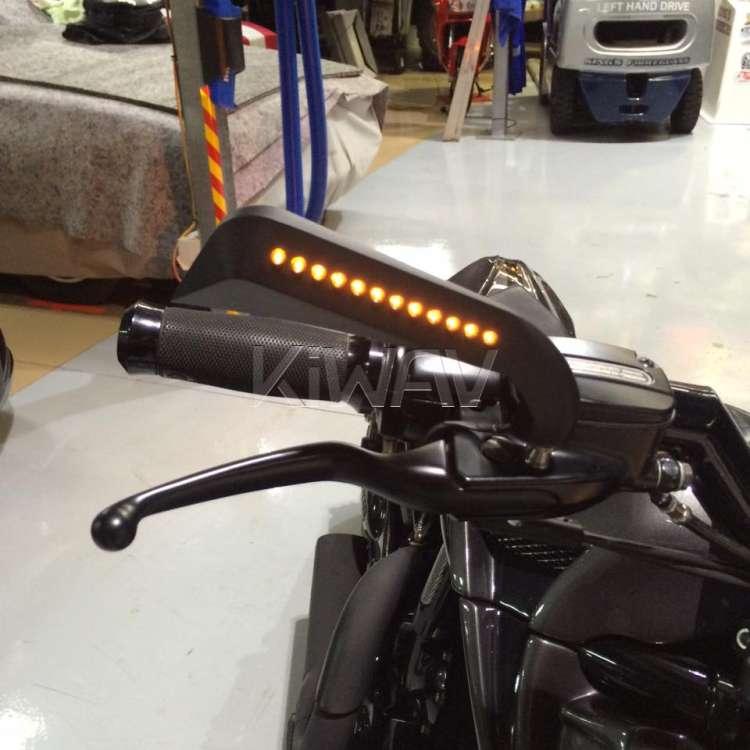
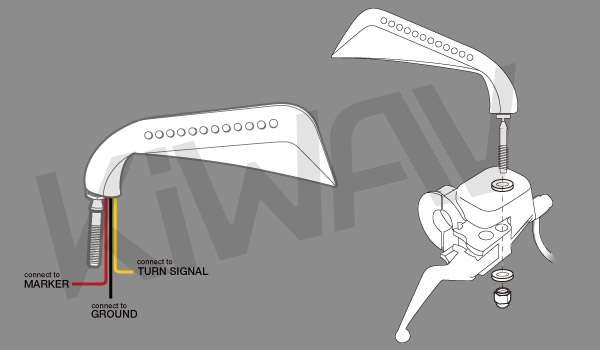
Because Axe LED mirrors route wiring through the mirror stem, make sure the wire is correctly positioned so it cannot be pinched or crushed by the mounting hardware.
How to Install KiWAV Axe Mirrors on a Harley-Davidson
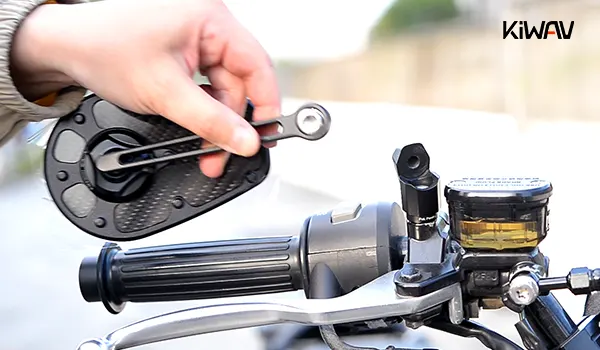
- Remove the original mirror and mounting nut.
- Retain the original internal tooth lock washer. Keep it for use with the new mirror installation.
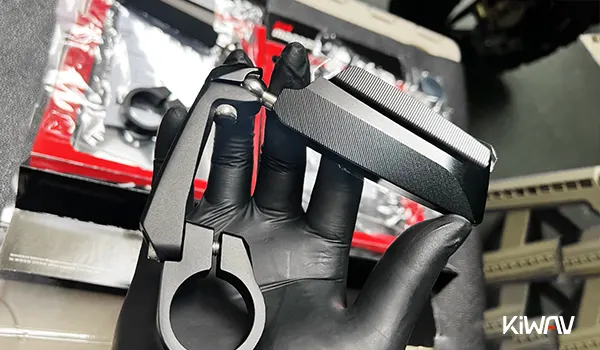
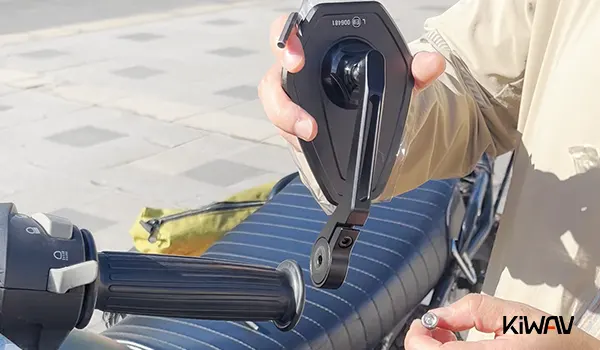
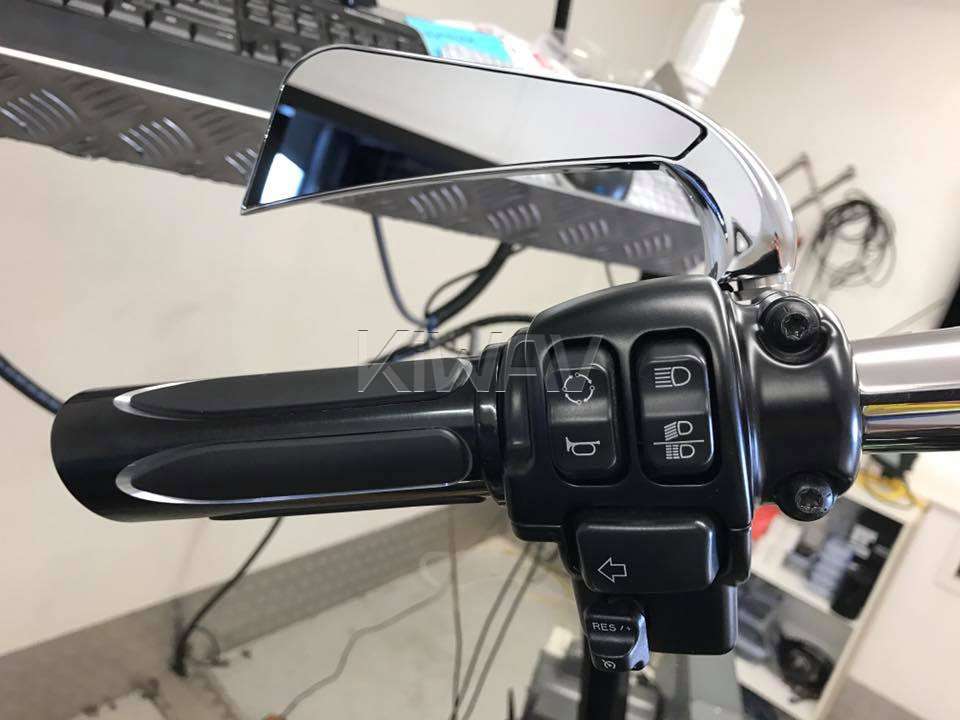
- Install the Axe mirror stem through the hand control assembly.
- Install a flat washer above and below the hand control assembly. The washers help stabilize the mirror stem in the mounting point.
- Position the mirror and tighten the mounting hardware to 8–12 ft-lb (10.8–16.3 Nm). Do not over-tighten. Check the mirror position and readjust if necessary before the final tightening.
Important: Protect the LED Wiring
Make sure the wire exiting the mirror stem is positioned in the wire guard so it cannot be pinched or crushed by the mounting hardware.
Check the wire routing before final tightening and make sure the wire is not trapped between washers, nuts, the hand control assembly, or other mounting components.
Before Riding
After installation:
- Confirm that the mirror is securely mounted.
- Adjust the mirror to provide a clear rearward view.
- Check that the wiring is not pinched, stretched, or sharply bent.
- Turn the handlebars through their normal range and verify that the mirror and wiring do not interfere with the controls.
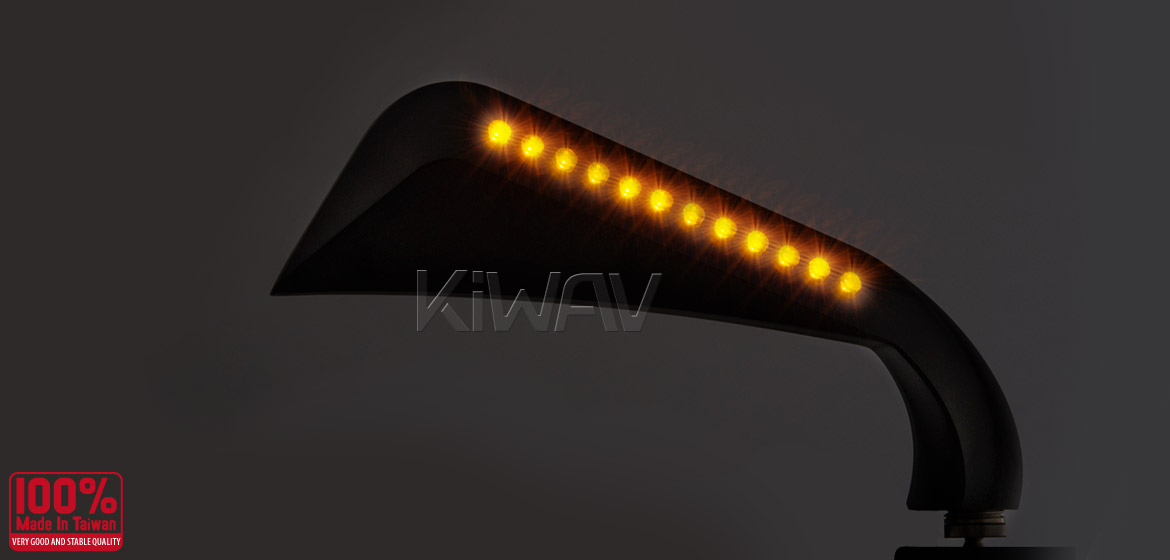
- Test the LED turn signal function before riding.
For general Harley-Davidson mirror mounting information, see our Harley-Davidson Motorcycle Mirror Installation Guide.
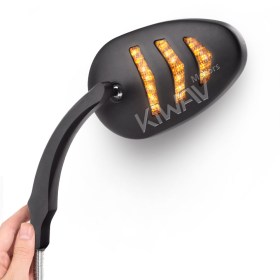
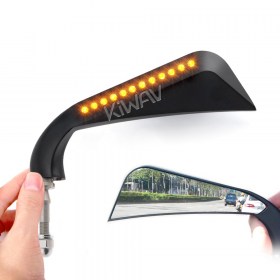
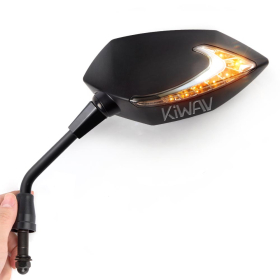
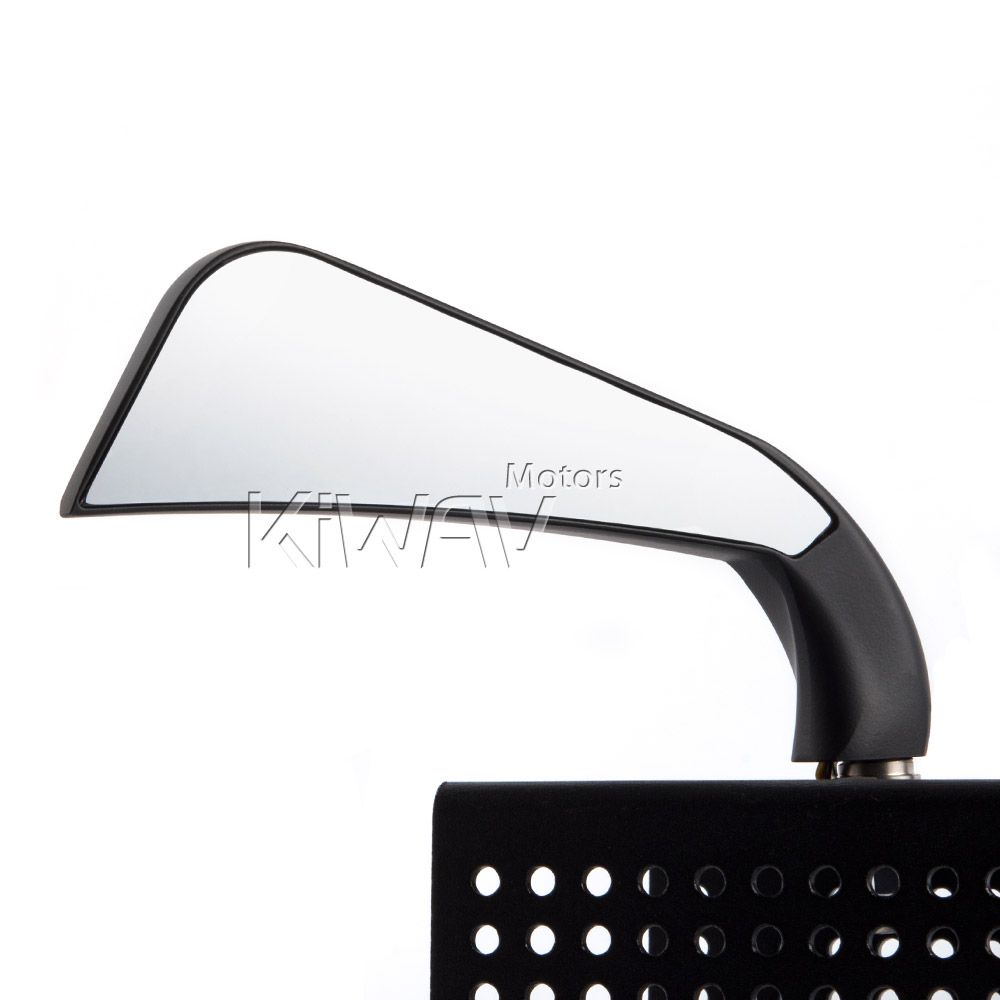
KiWAV Axe LED Mirrors for Harley-Davidson