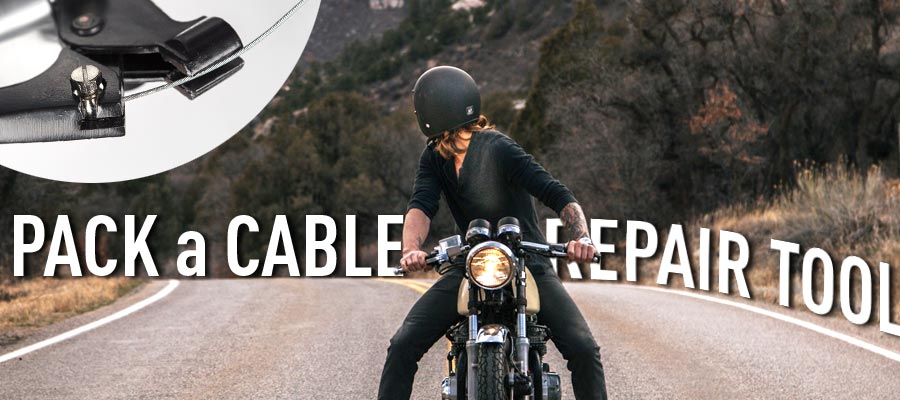
Having a cable repair tool is a requirement if you are traveling to remote areas.
Before you take off on a motorcycle road trip, you need to plan for any hurdles you may encounter. Any tiny problems can ruin the whole trip. Wrench, small knife, plier, screwdriver, tire tool, ... all good! But what would happen if all of a sudden you lose your brake because of an unexpected broken clutch cable in the middle of nowhere? you’ll think “why didn’t I bring a spare clutch cable?”
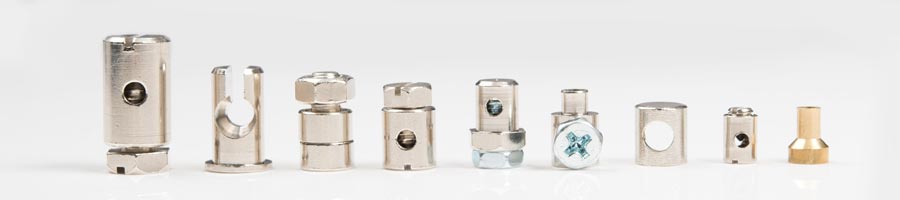
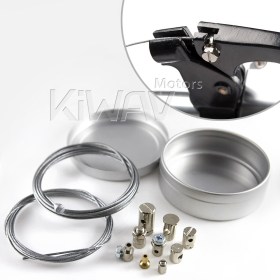
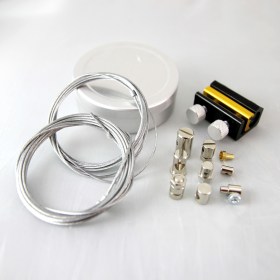
So, pack a KiWAV emergency cable repair kit just in case.
How to repair your snapped clutch cable on a trip?
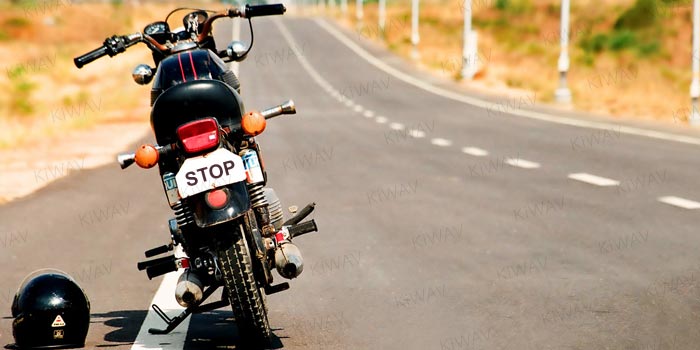
1. First, you need to get your motorcycle away from the traffic and stop it into a safe and flat area to change the broken cable.
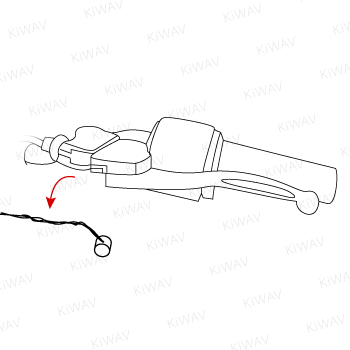
2. Pull the broken cable out from the clutch cable line.
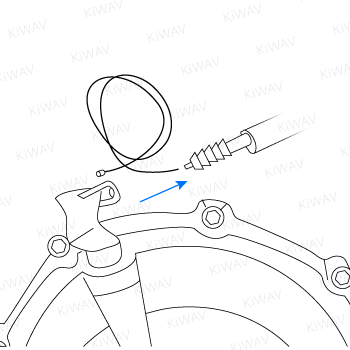
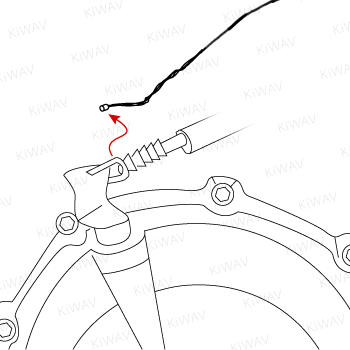
3. Take a most similar diameter cable from KiWAV emergency cable repair kit, then go through from clutch arm end to handlebar clutch lever end.
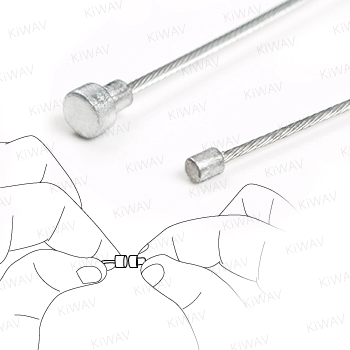
4. Compare new nipples with old stock one, find the most similar size and shape of the new cable nipples.
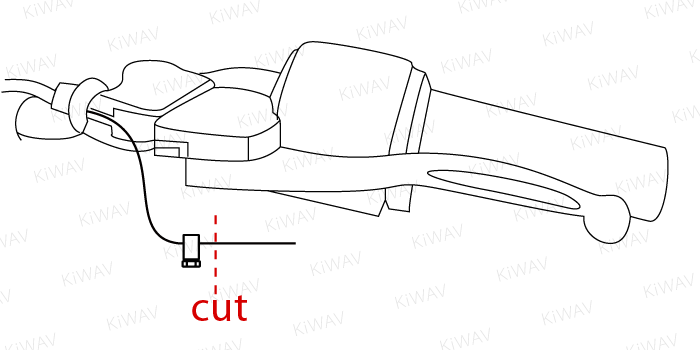
5. Measure the proper length of the cable, cut off extra cable with a plier, make it smooth as possible and apply the new nipple to the new cable tightly to fit into the hole of the handlebar clutch lever.
6. Check the free play of the cable. There are two places to make an adjustment, the barrel at the lever to make minor day-to-day adjustments, or you can turn the locknuts down at the engine to make larger changes. In general, 3-4mm at the perch is a good goal, and as a rule, it’s always better to have too much slack than too little.
7. Replace this emergency cable set with brand new stock clutch cable after finding the nearest hardware store as soon as possible.
Shop the KiWAV emergency cable repair kit
Subscribe
There are many more helpful small tools out there. Things that make you go Ah-Ha!
Not expensive, but very helpful.
If you're interested, subscribe to us and you'll receive the hottest news straight to your inbox.